How to Download, Install, and Use UFONet on Kali Linux: Step-by-Step Beginner Guide
UFONet is an open-source tool used for network security testing and Distributed Denial of Service (DDoS) simulations. This beginner-friendly tutorial will guide you through downloading, installing, and using UFONet on Kali Linux, using detailed images and clear explanations for each step. Please use this tool responsibly and only on systems where you have authorization, as misuse may have serious legal consequences.
Step 1: Identify the Application Interface
First, familiarize yourself with the on-screen elements. Take a look at the interface you’ll be working with to help you recognize and navigate the application environment.

Step 2: Recognize the Design Elements
Closely observe the patterns, logos, or emblems in the application’s interface. This helps ensure you are using the correct tool.

Step 3: Identify Main Objects on Screen
Pay attention to the central objects on the screen, noting their shape and color for easier navigation later.

Step 4: Open the Iceweasel Browser
Click on the Iceweasel icon (similar to Firefox) located on the dock at the left side of your screen to launch your web browser.
Troubleshooting: If Iceweasel does not open, make sure it’s installed, or use Firefox as an alternative.
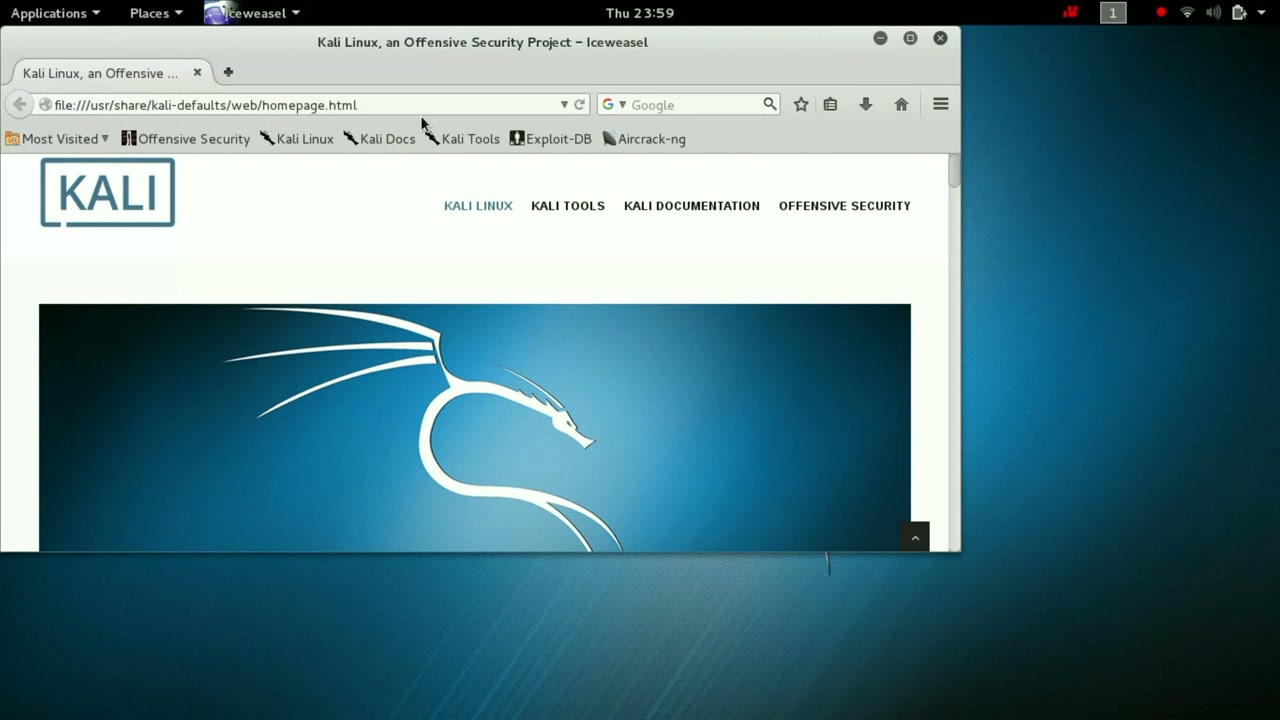
Step 5: Access the Kali Linux Homepage
With Iceweasel open, navigate to the official Kali Linux homepage. You can type the URL directly into the address bar or use your bookmarks if you’ve saved the site before.
Step 6: Navigate to the UFONet Webpage
In your browser, find and go to the UFONet website. You can also find its GitHub repository for more details about the tool.
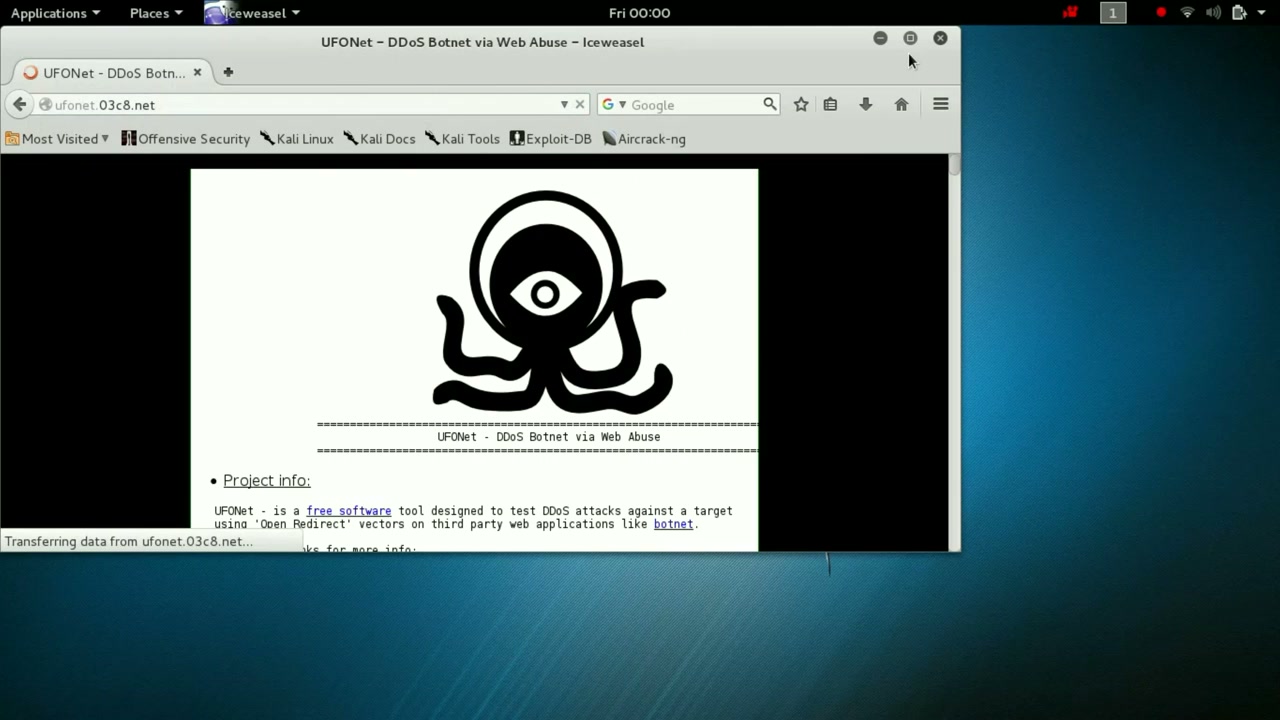
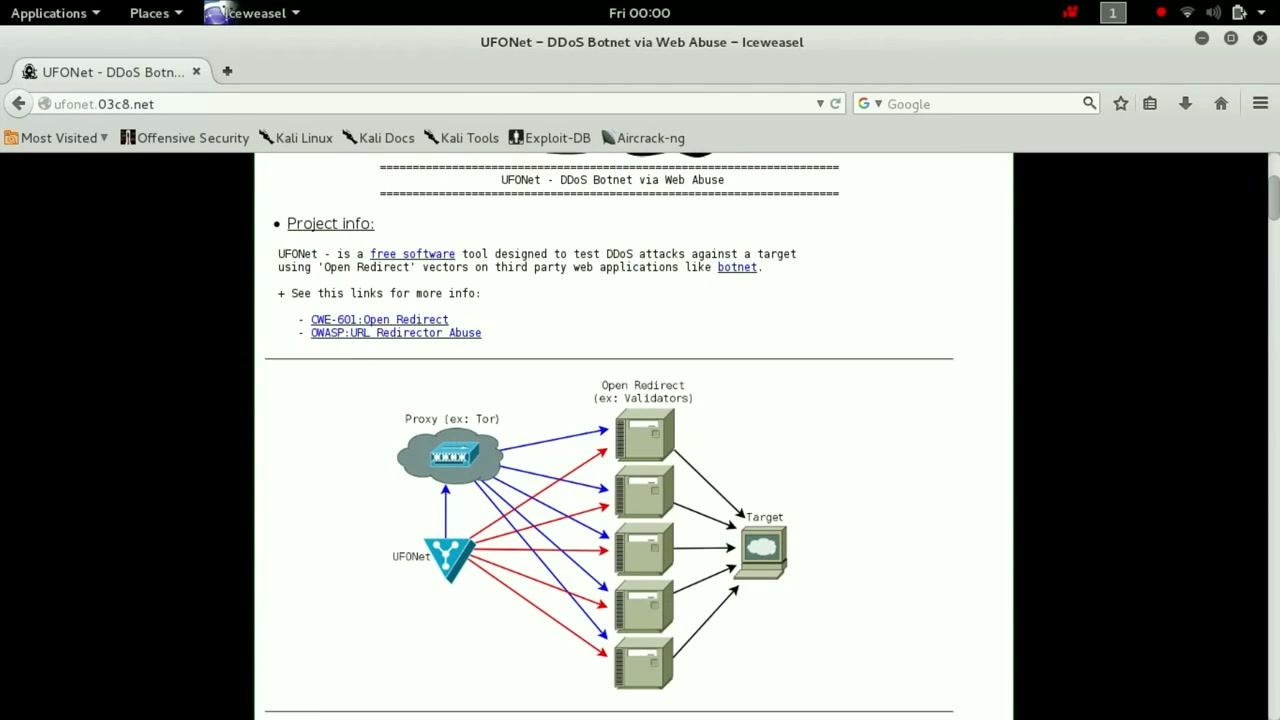
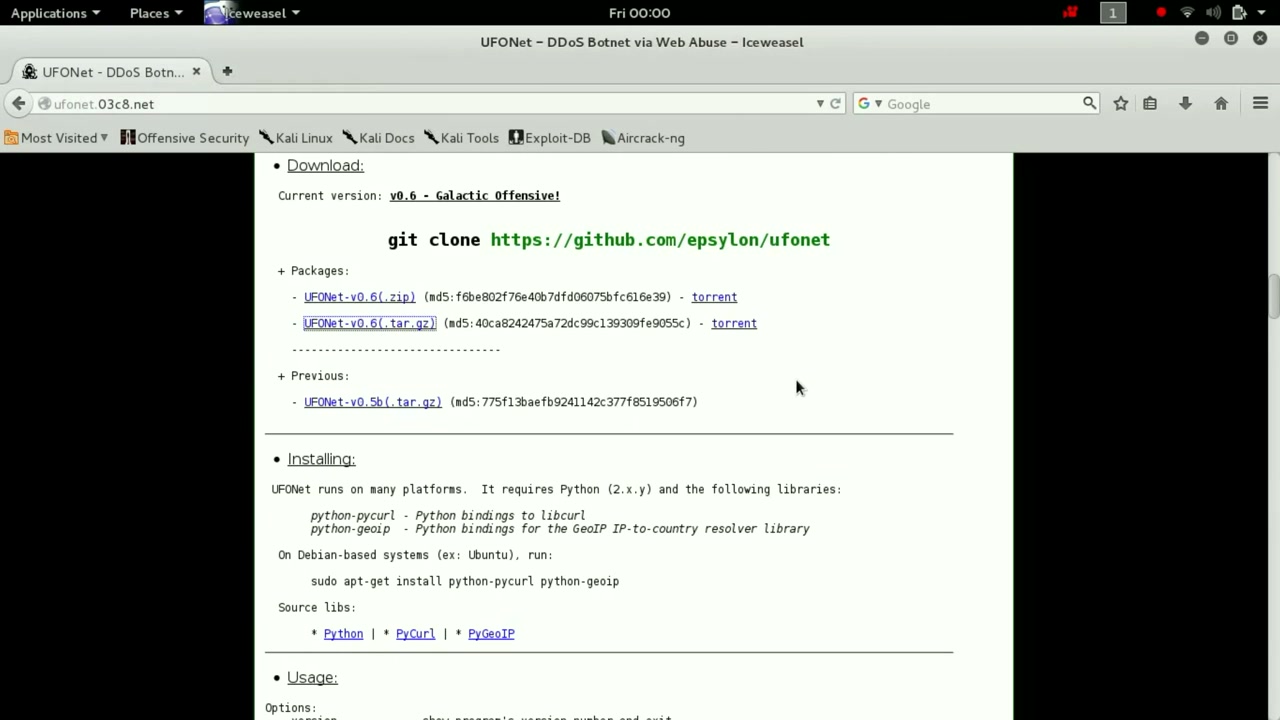
Step 7: View UFONet Project Information
Read the information on the webpage to understand what UFONet does and its main capabilities. This step is important to learn about ethical and legal uses of the tool.
Step 8: Download and Install UFONet
On the UFONet page, find the GitHub download link. Use the provided command in your terminal:
git clone https://github.com/epsylon/ufonet
Make sure you have Python and required libraries installed. If not, use:
sudo apt-get install python3 python3-pip git
Troubleshooting: If the command fails, check your internet connection or install Git.
Step 9: Clone the UFONet Repository
In the terminal, enter the command:
git clone https://github.com/epsylon/ufonet
This downloads the UFONet files to your computer.
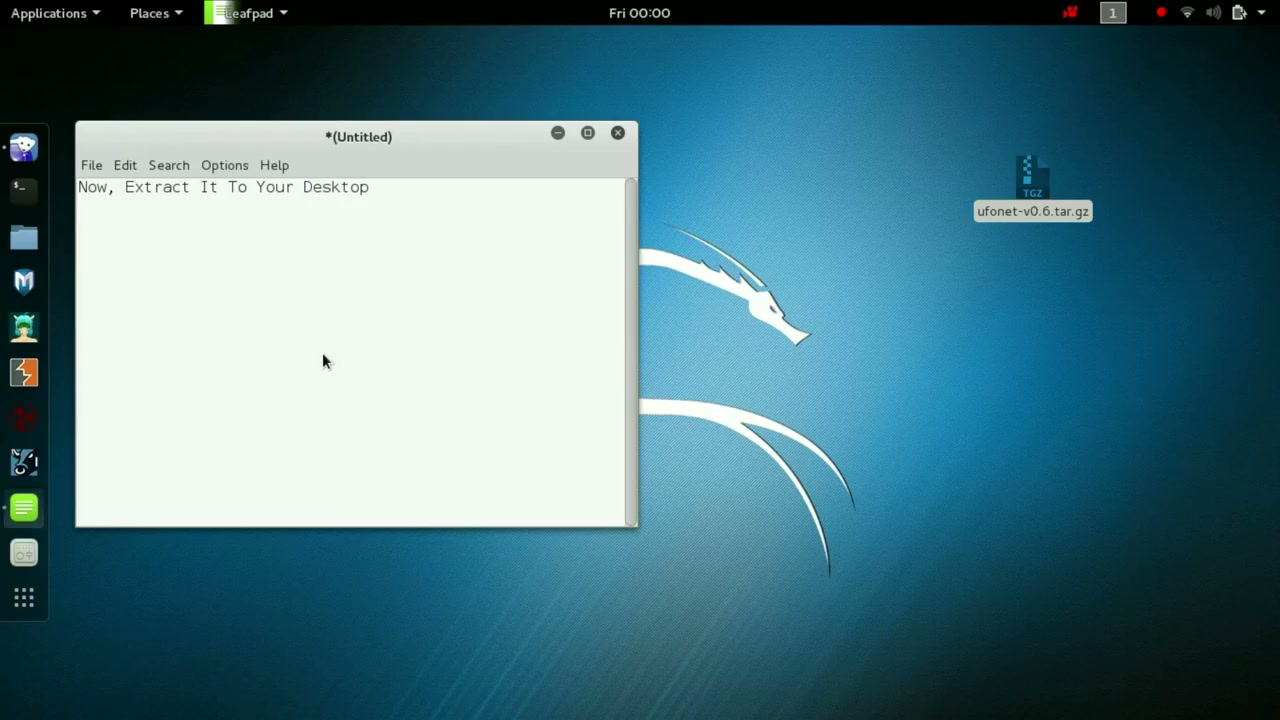
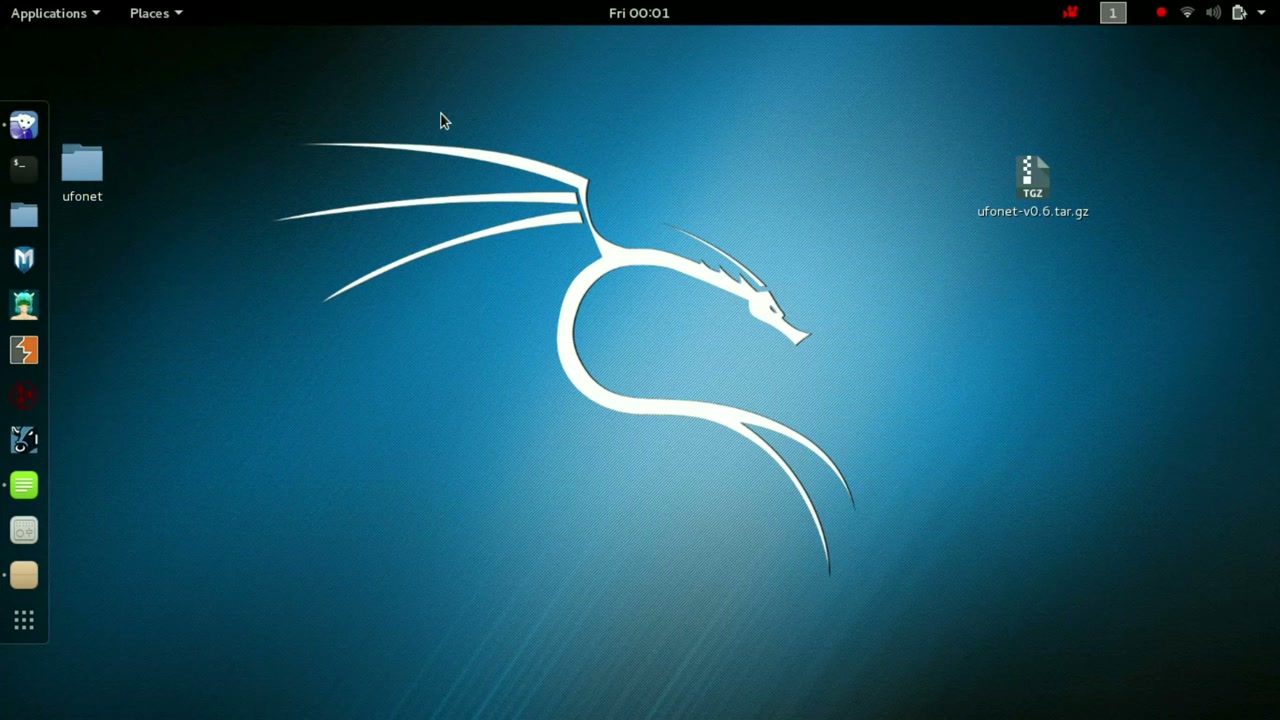
Step 10: Extract UFONet Files (if using archive)
If you downloaded UFONet as a ‘.tar.gz’ file, extract it to your Desktop:
tar -xzvf ufonet-v0.6.tar.gz -C ~/Desktop/
Troubleshooting: If you get permission errors, use sudo or check your directory path.
Step 11: Open a Terminal Window
Locate the Terminal icon in your dock or applications menu and click to open it. The terminal is essential for running commands and scripts.
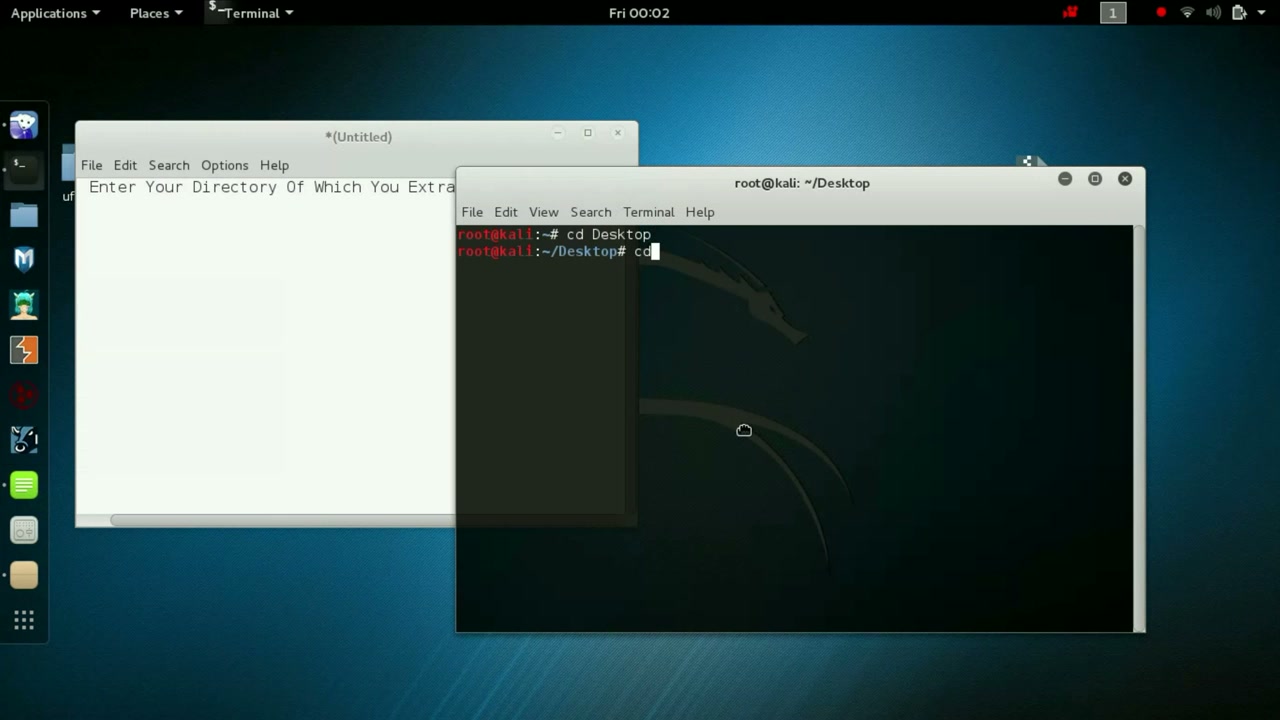
Step 12: Navigate to the UFONet Directory
Change directory to where you cloned or extracted UFONet (e.g., your Desktop):
cd ~/Desktop/ufonet
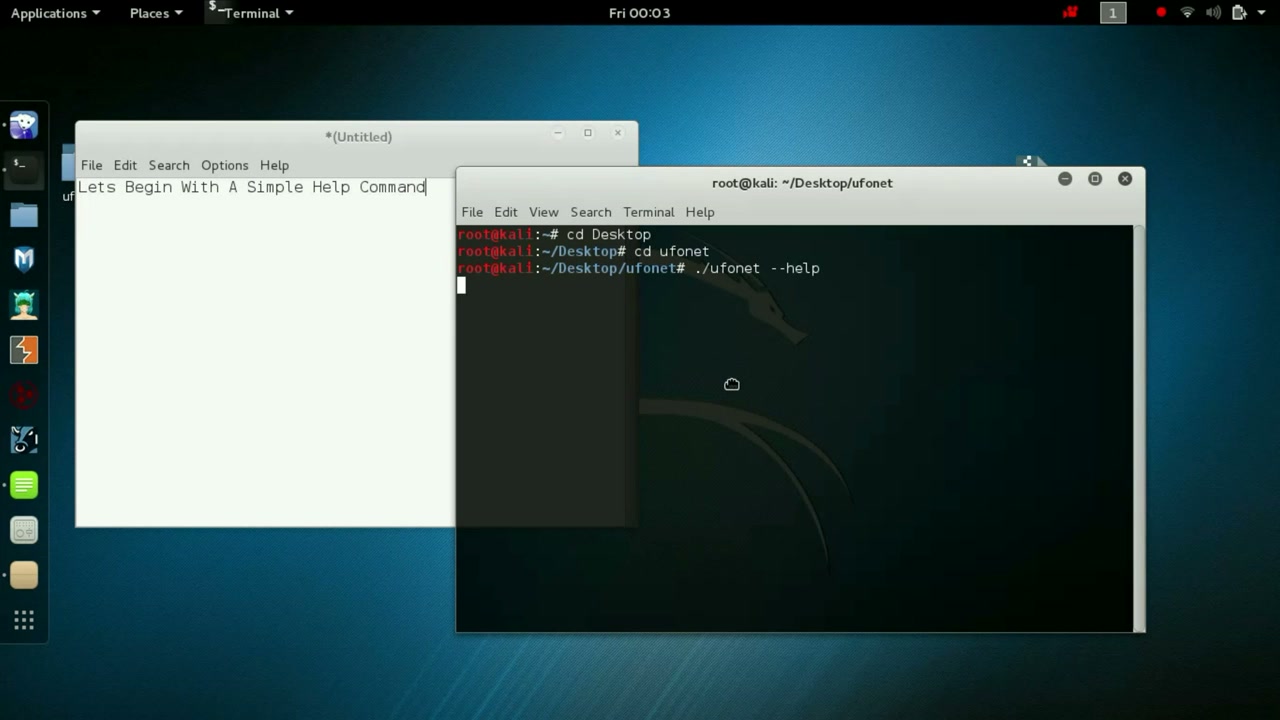
Step 13: Run the UFONet Help Command
Get a list of available commands by typing:
./ufonet --help
Troubleshooting: If you get a permission denied error, first run:
chmod +x ufonet
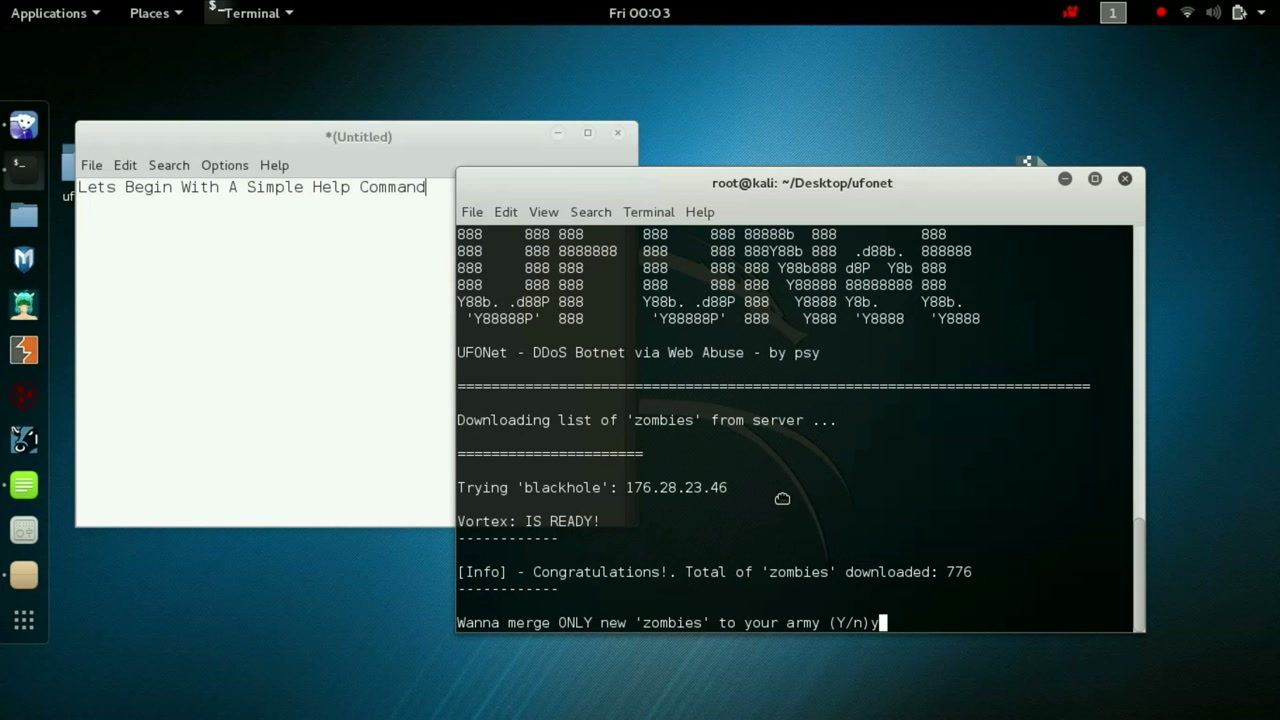
Step 14: Start the UFONet Tool
Run UFONet by typing:
./ufonet
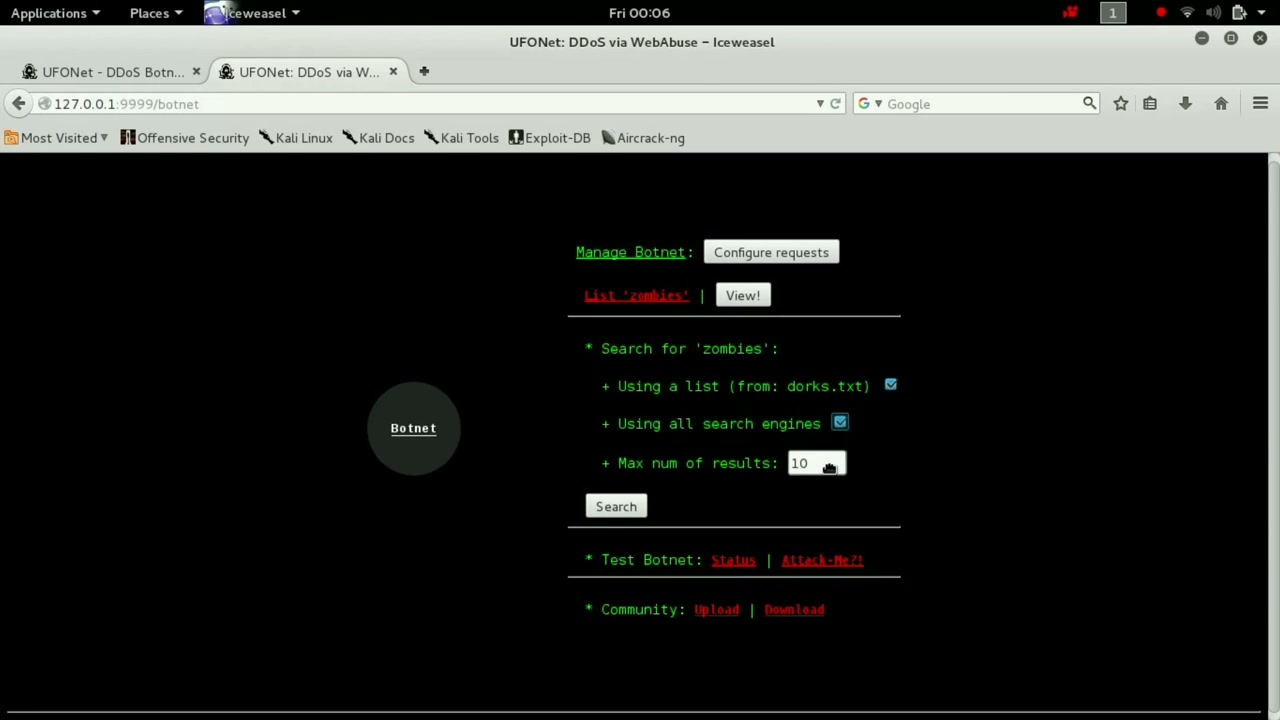
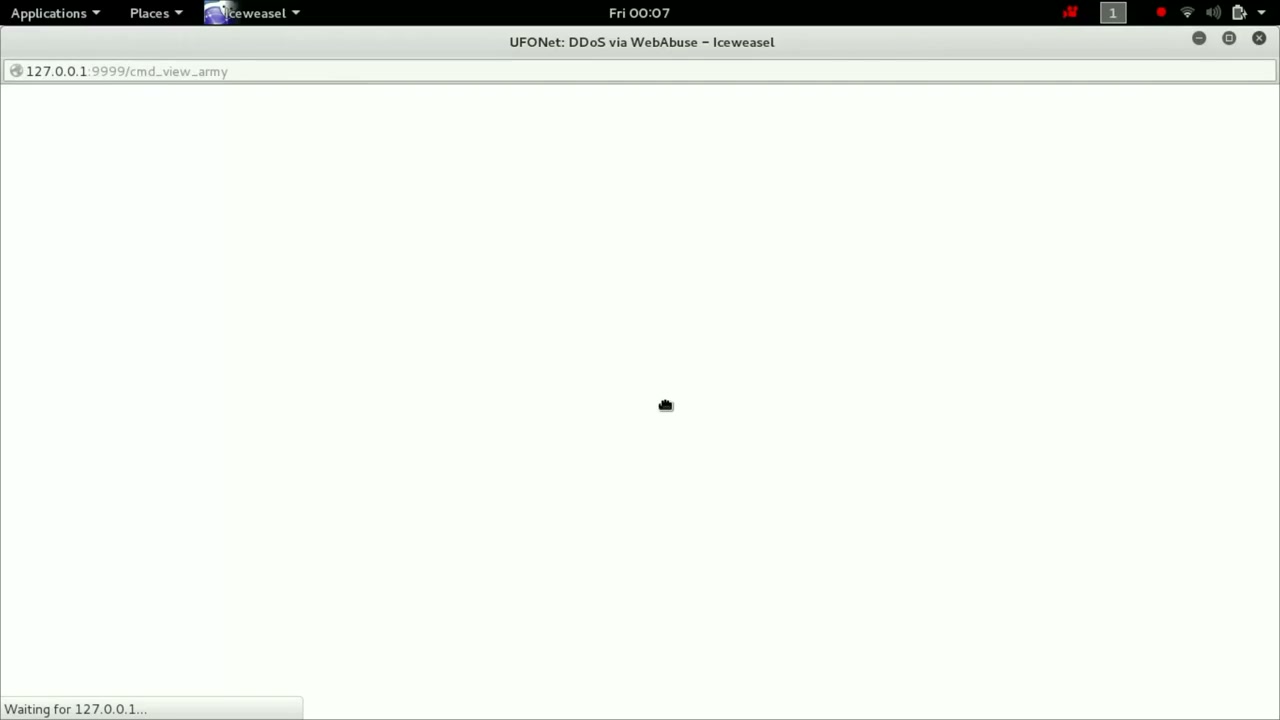
Step 15: Access the UFONet Interface
Once UFONet is running, access its web interface through your browser, usually at 127.0.0.1:9999.
Troubleshooting: If you cannot connect, verify UFONet is running and the address is correctly entered.
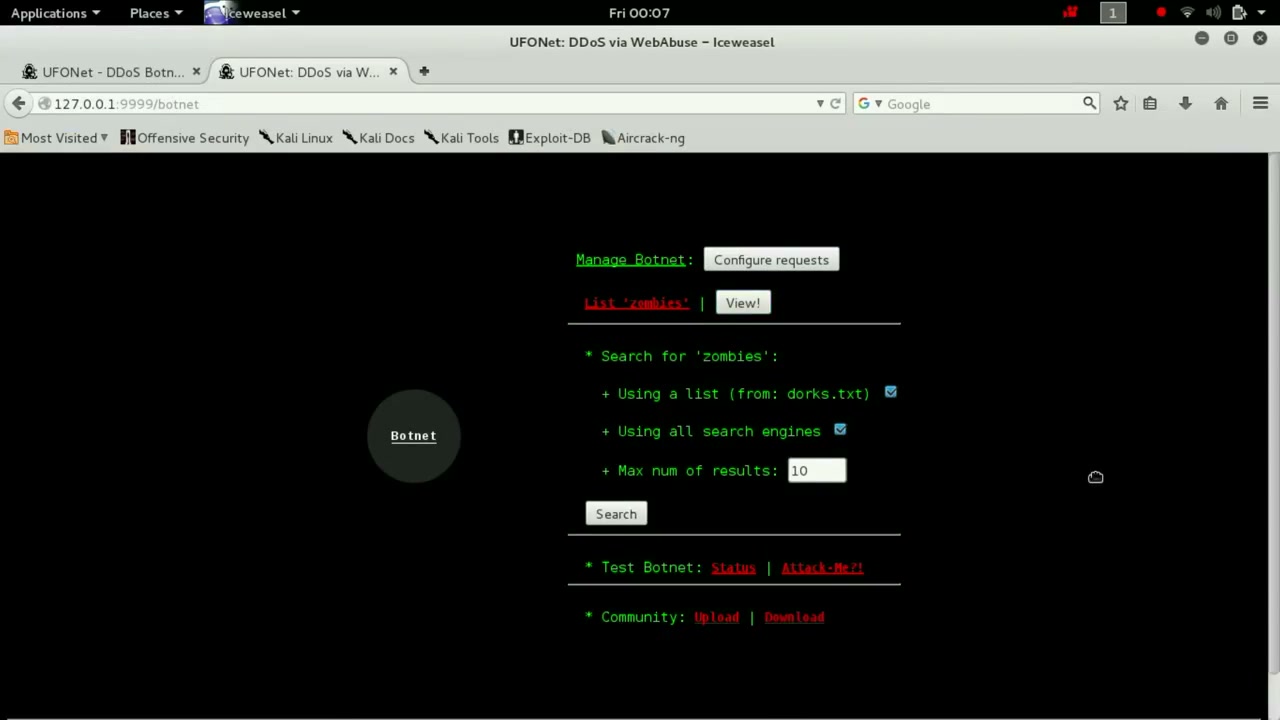
Step 16: Manage the Botnet Interface
In the web interface, you can manage the botnet, configure search options for ‘zombies’ (potential DDoS vectors), and specify settings like maximum results and search engines. Be responsible—these features are intended for security testing and learning only.
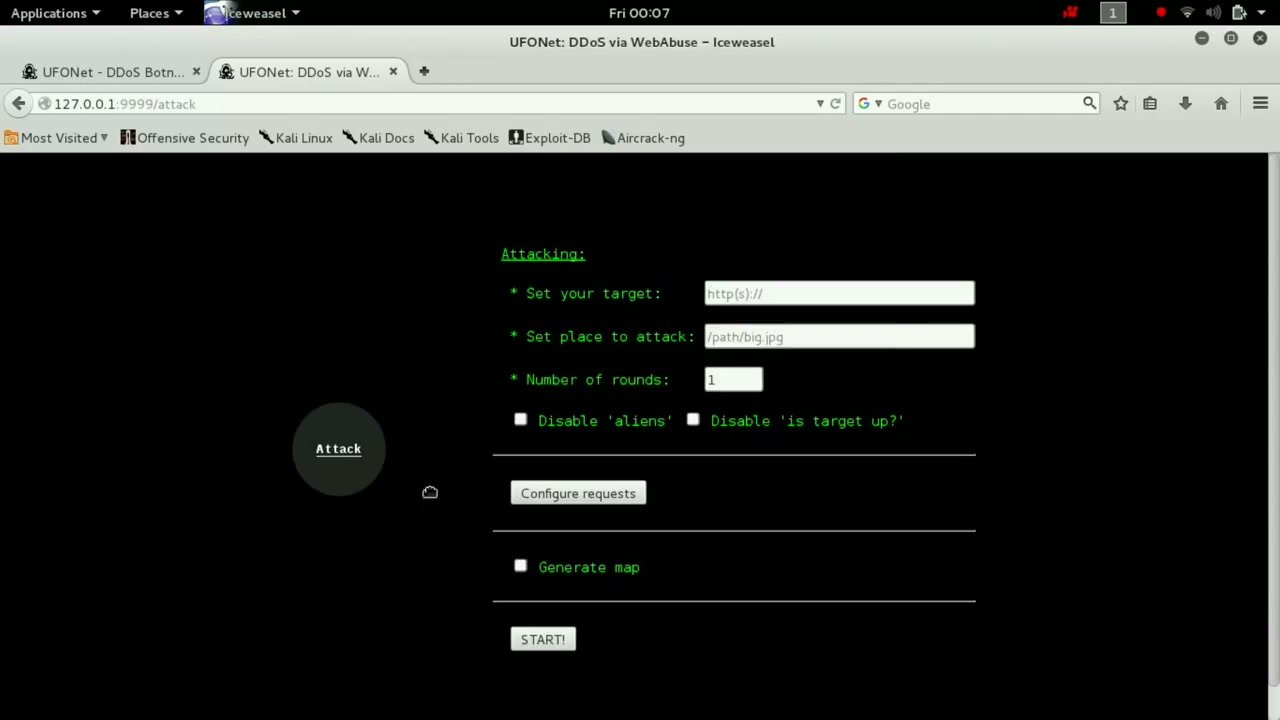
Step 17: Configure Attack Parameters (For Advanced Users Only)
Set the URL target, attack path, and attack rounds. Only use this capability on authorized systems or lab environments.
Warning: Never attack unauthorized systems. Doing so is illegal and unethical.
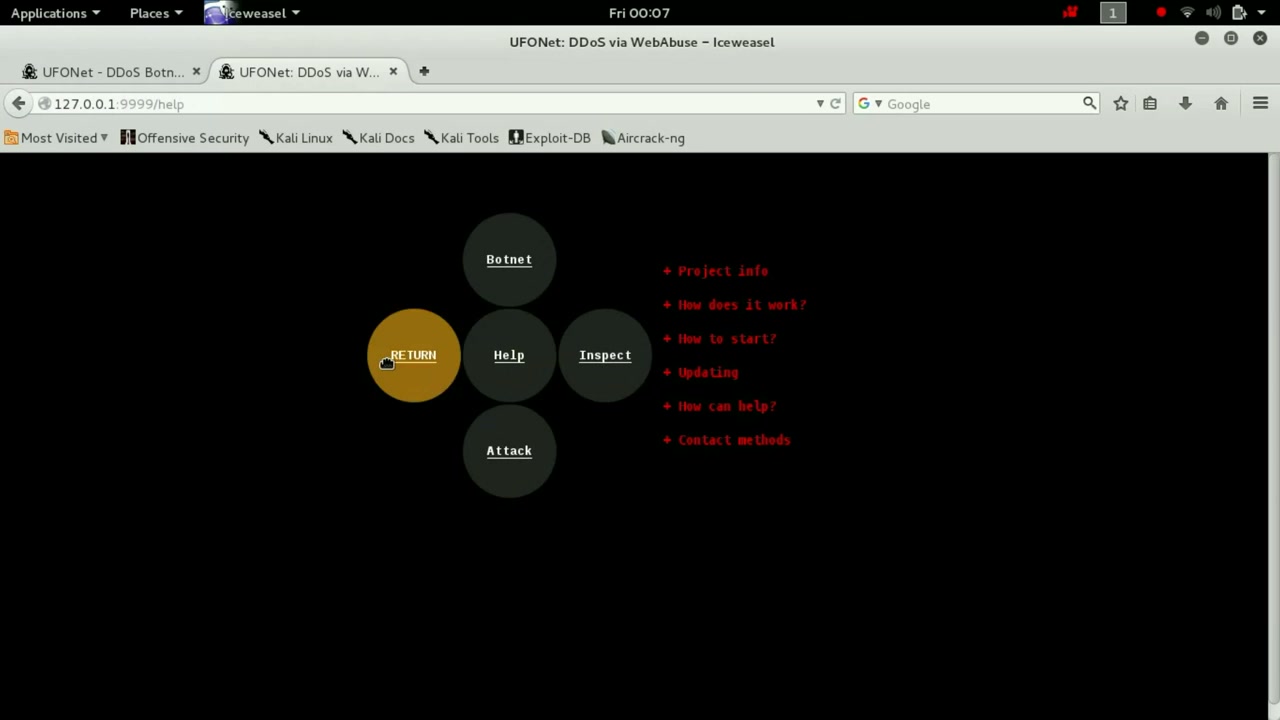
Step 18: Return to the Main Menu
Click the ‘RETURN’ button in the interface to go back to the main menu and explore other available options or safely exit the application.
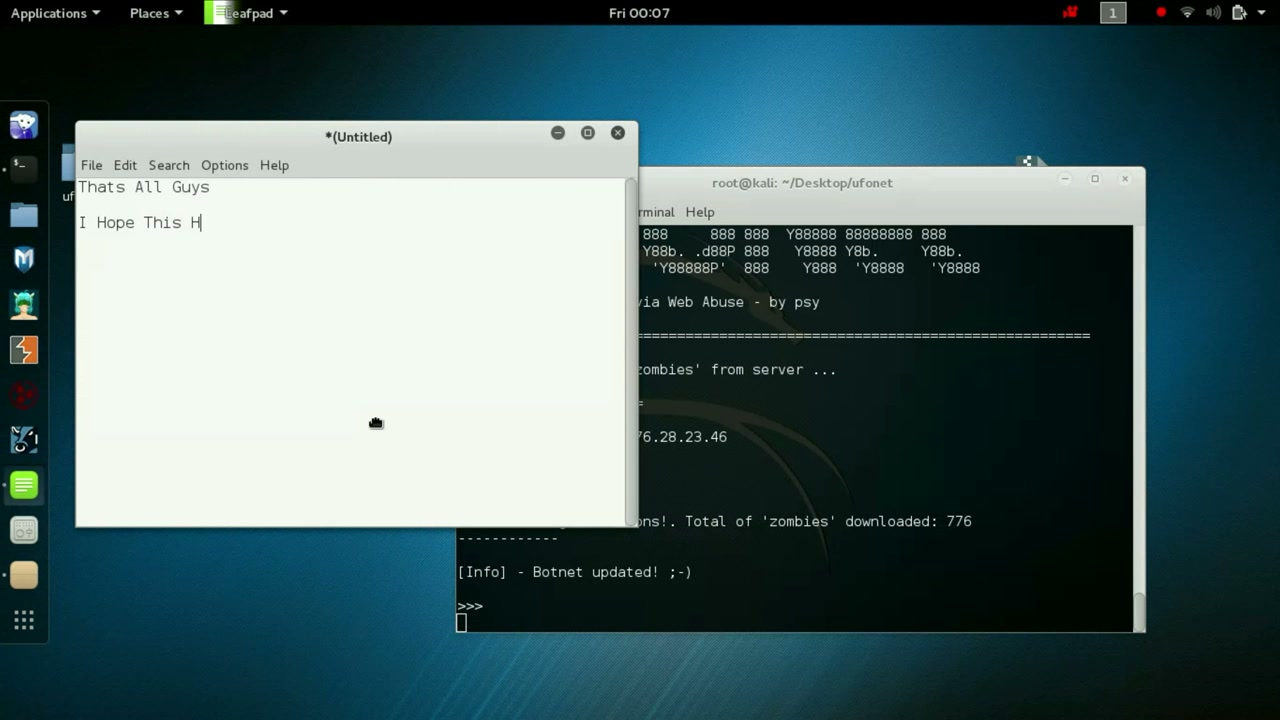
Step 19: Update the Botnet List via Terminal (Optional)
Advanced users may update the list of available ‘zombies’ directly from the terminal by running the update command as displayed in the interface.
Troubleshooting: If you get errors about connectivity, check your internet or server settings.
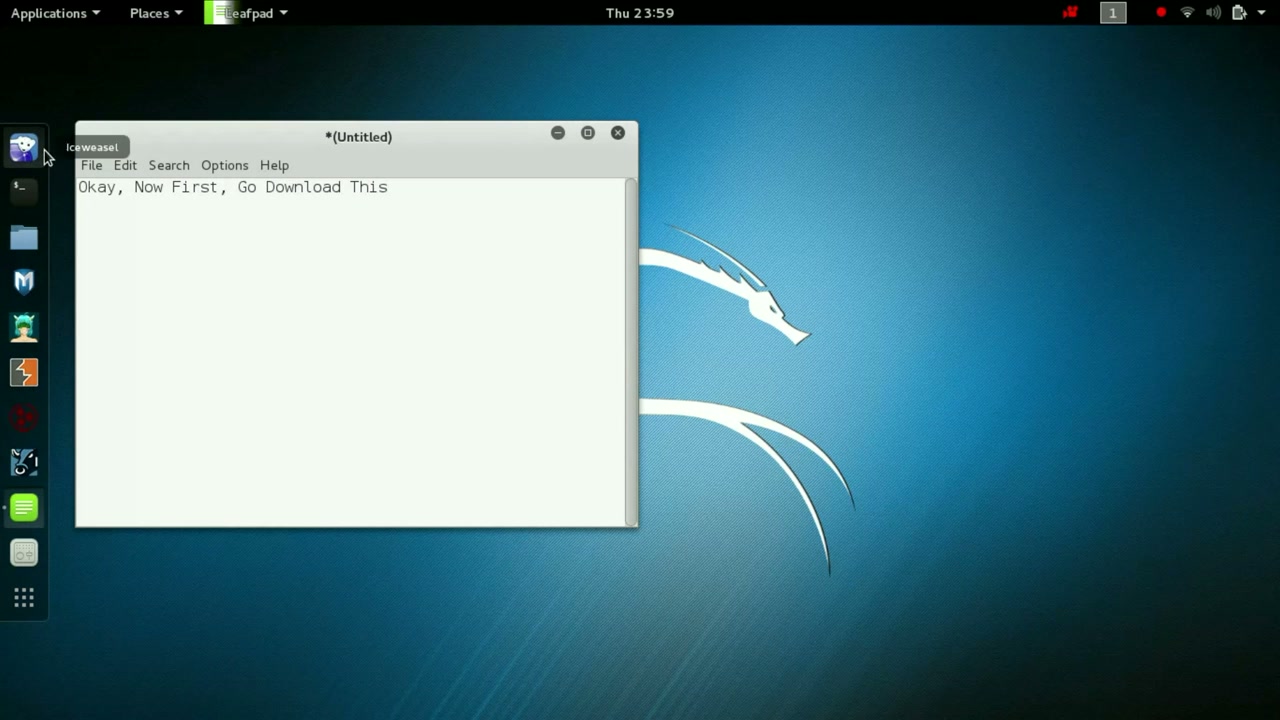
Step 20: Finalize and Save Your Work
If you used a text editor (like Leafpad) to take notes or record commands, make sure to save your work before closing the editor.
Conclusion
You have now learned how to download, install, and launch UFONet on Kali Linux. This tutorial covered identifying the UFONet interface, proper installation steps, how to configure the tool for ethical testing, and how to access its main features. Always use such powerful security tools legally and responsibly. For any issues, double-check command spelling, verify dependencies, and ensure you only perform tests in authorized settings.