How to Download, Install, and Use zANTI on Android (Beginner’s Guide)
zANTI is a powerful network analysis and penetration testing toolkit designed for Android devices. Whether you’re a cybersecurity enthusiast or a beginner eager to explore network testing tools, this tutorial will guide you step-by-step through downloading, installing, setting up, and using zANTI securely and responsibly. Before starting, make sure your device is rooted for full functionality.
Step 1: Download and Install zANTI APK
To get started, you first need to download the zANTI APK from a trusted source. Make sure your Android device allows installations from unknown sources. You can typically enable this option in your device’s Settings > Security. Follow the prompts to install the APK as you would with any other app.
Warning: Ensure your device can install APKs from unknown sources and only download from reputable sites to avoid malware.
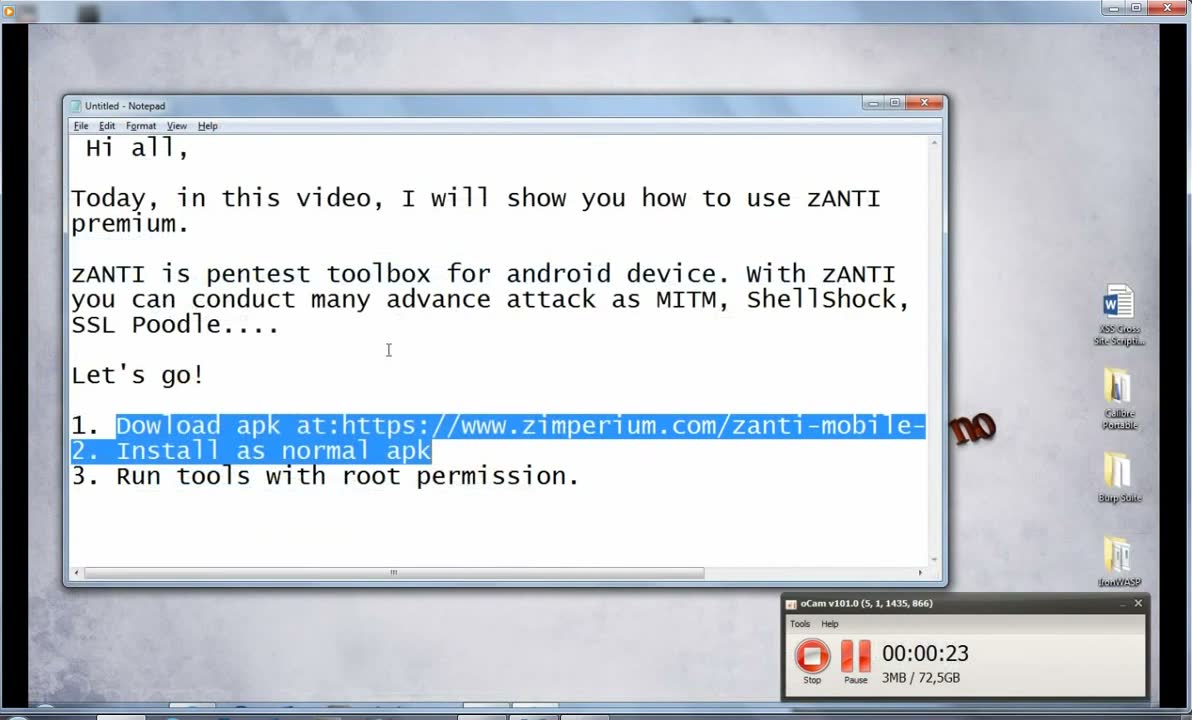
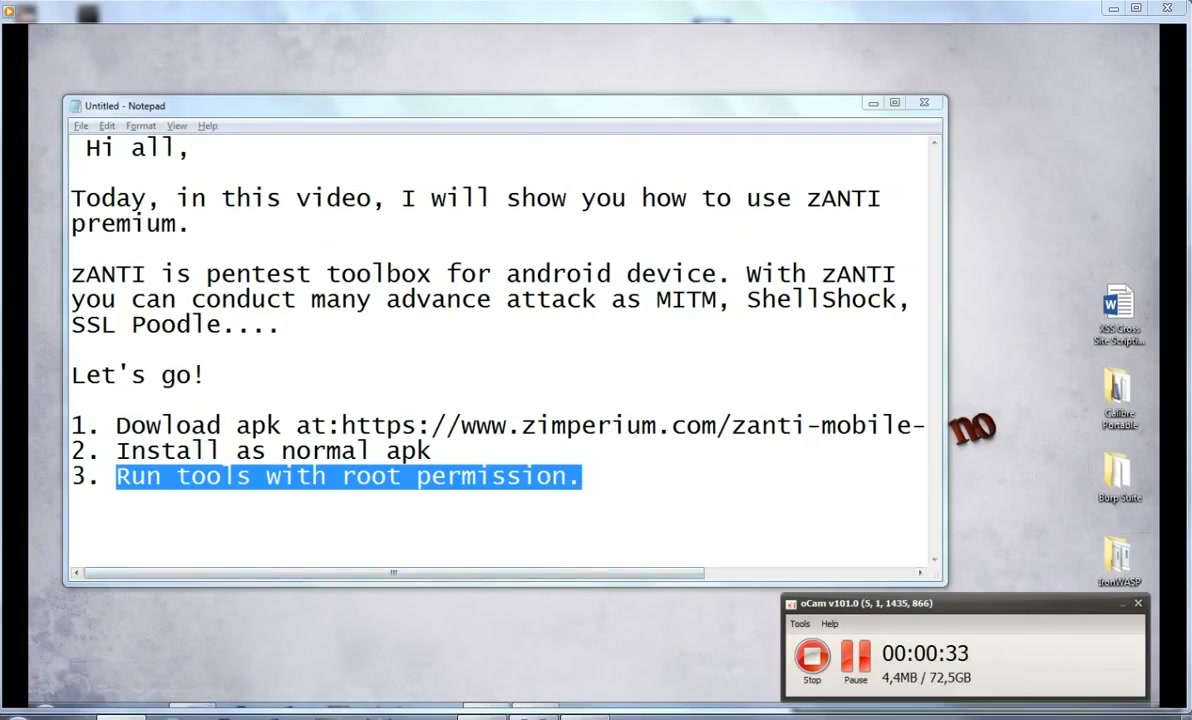
Step 2: Give zANTI Root Permissions
For zANTI to function with its full capabilities, root access is required. If your device is rooted, the installation process will typically prompt you to grant root permissions. Make sure to allow these permissions for the tool to work correctly.
Warning: Using root permissions gives zANTI control over system-level functions—only use them on devices you own and trust.
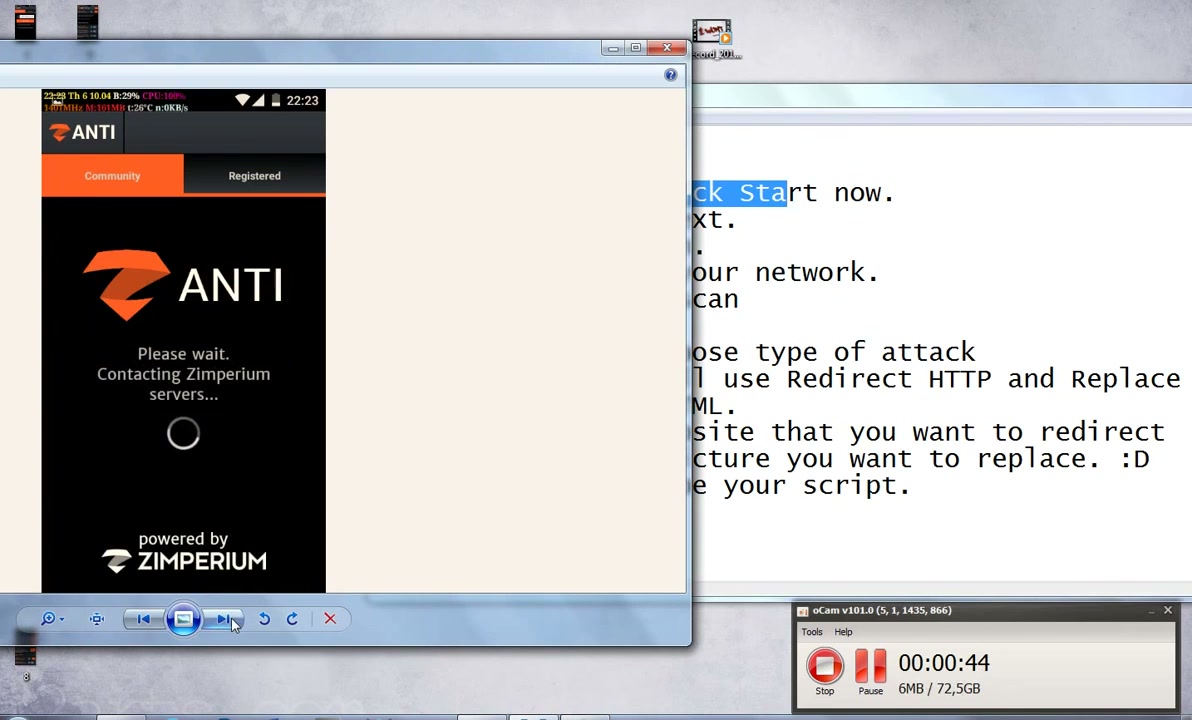
Step 3: Wait for Connection to Servers
After launching zANTI for the first time, the app will attempt to contact the Zimperium servers. This is necessary for setup and may take a few moments. Make sure you have a stable internet connection during this step.
Tip: If the connection fails, check your internet settings or try connecting to another Wi-Fi network.
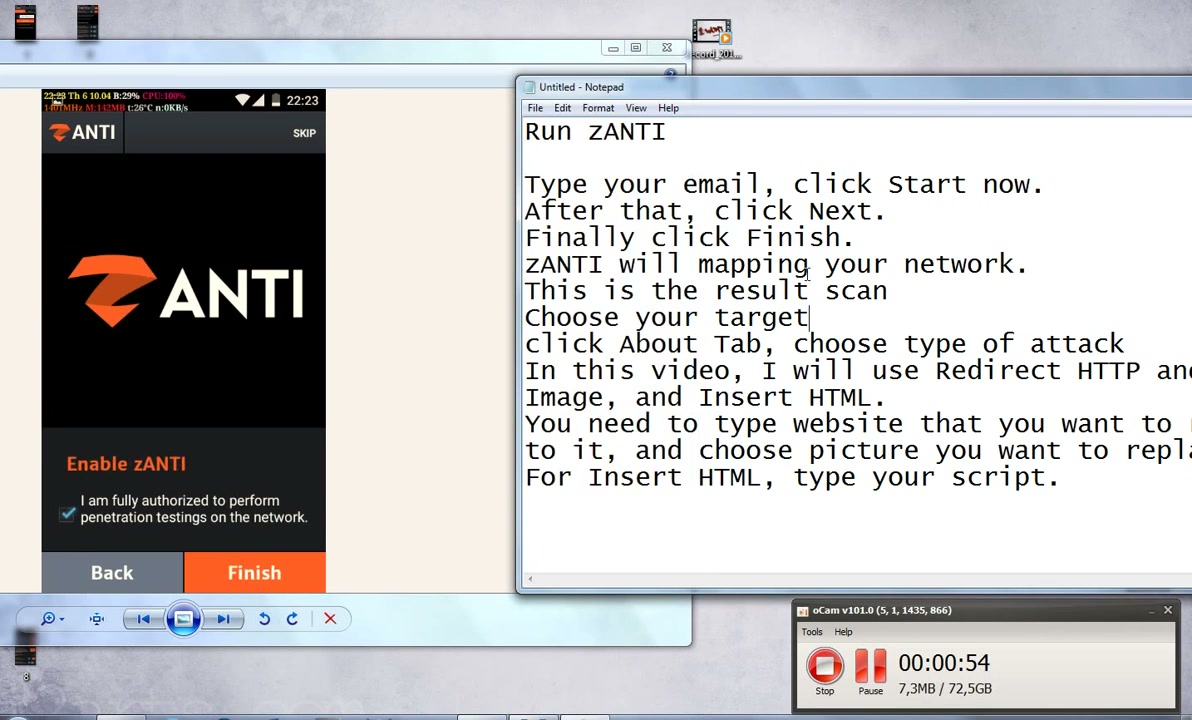
Step 4: Enable and Authorize zANTI
When prompted, review the authorization notice and check the required boxes to confirm that you have permission to use zANTI for advanced network testing. Then, tap on ‘Enable’ or ‘Finish’ to continue.
Warning: Only use network analysis and penetration testing tools on networks you own or have explicit authorization to test.
Step 5: Run Network Mapping
With zANTI enabled, you can start exploring your network. Select the Run or Scan option to allow zANTI to map out the devices on your network. After scanning, it will display a list of connected devices and other information.
Tip: Ensure you’re connected to the correct network before running any scans.
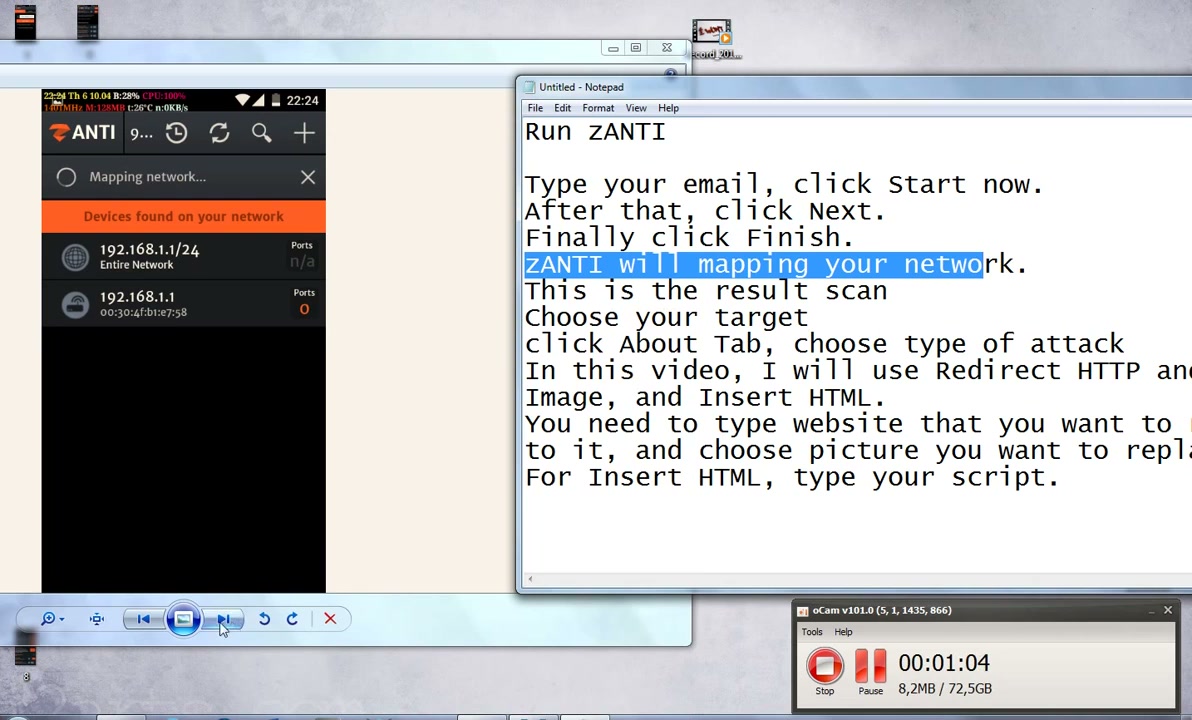
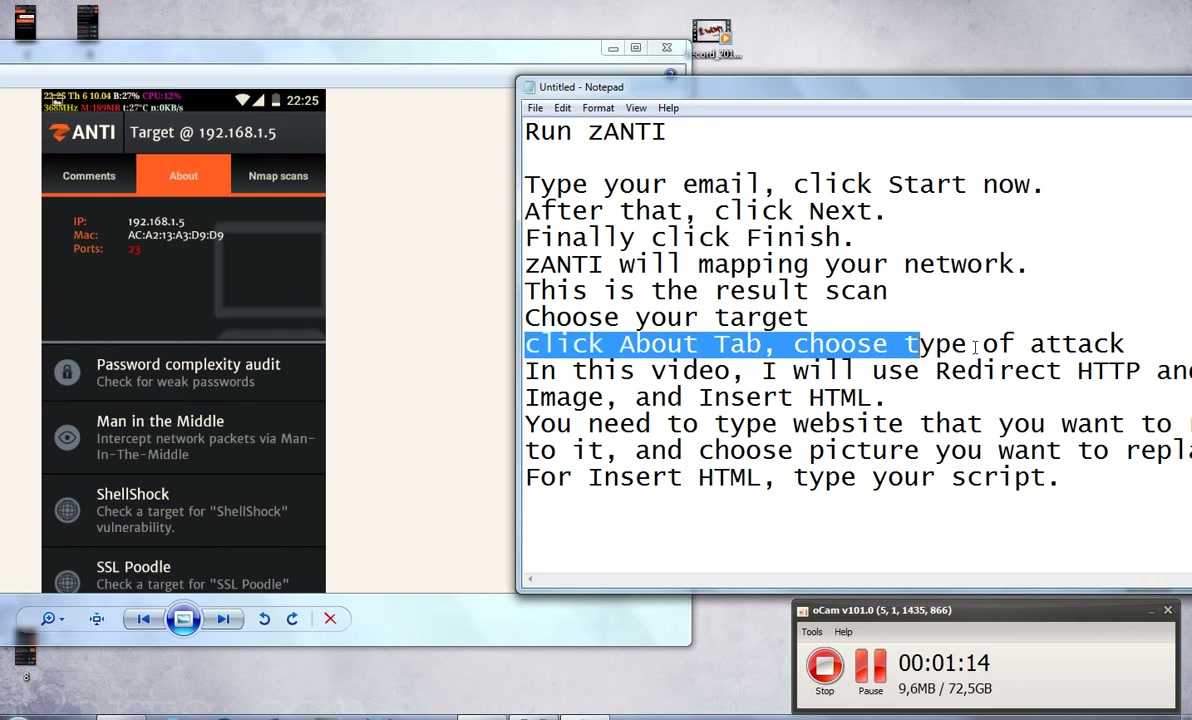
Step 6: Choose an Attack Type
After mapping the network, you can choose an attack type based on your testing requirements (e.g., Man-in-the-Middle, Password Audits, SSL Testing). Navigate to the ‘About’ or ‘Attack’ section and select your desired method. Always make sure you are authorized to test the chosen network.
Warning: Unauthorized use of attack tools is illegal and unethical.
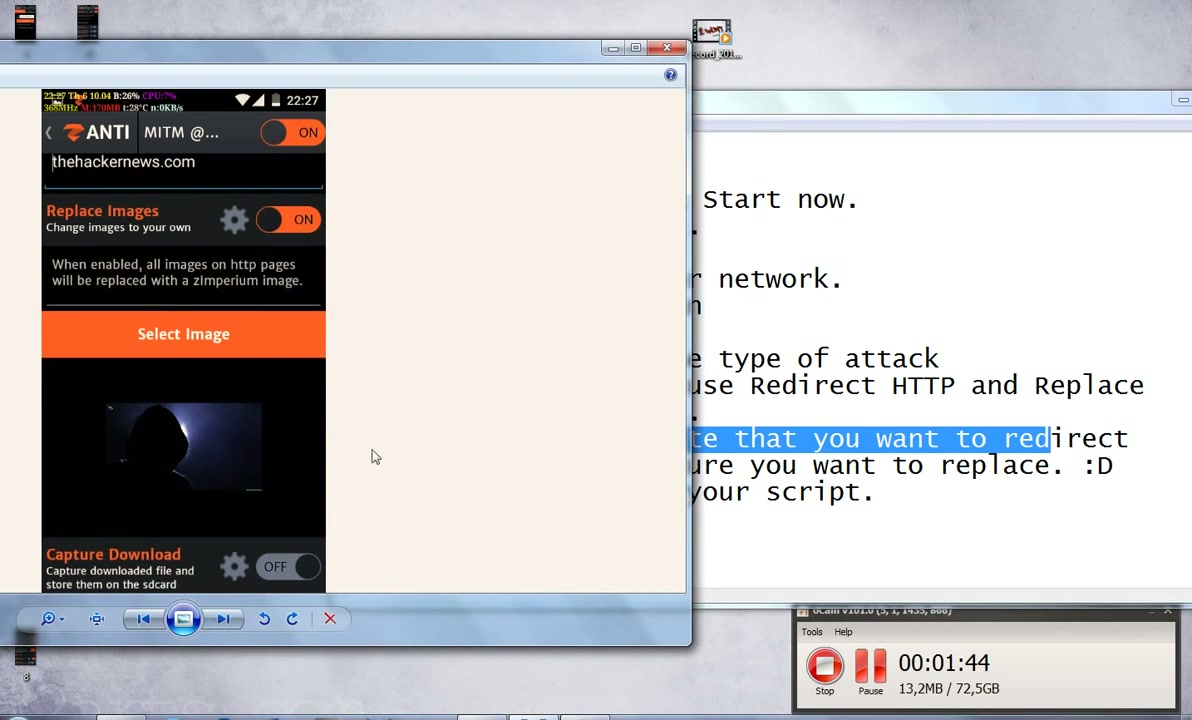
Step 7: Configure zANTI Settings
zANTI offers a suite of configurable options to enhance your testing, such as enabling SSL Strip, HTTP Redirects, Replace Images, Capture Downloads, and Inserting Custom HTML. Toggle these settings according to your needs after selecting a target and attack type. Each option can help demonstrate network vulnerabilities in different ways.
Tip: Start with basic options and explore more advanced settings as you grow comfortable with the tool.
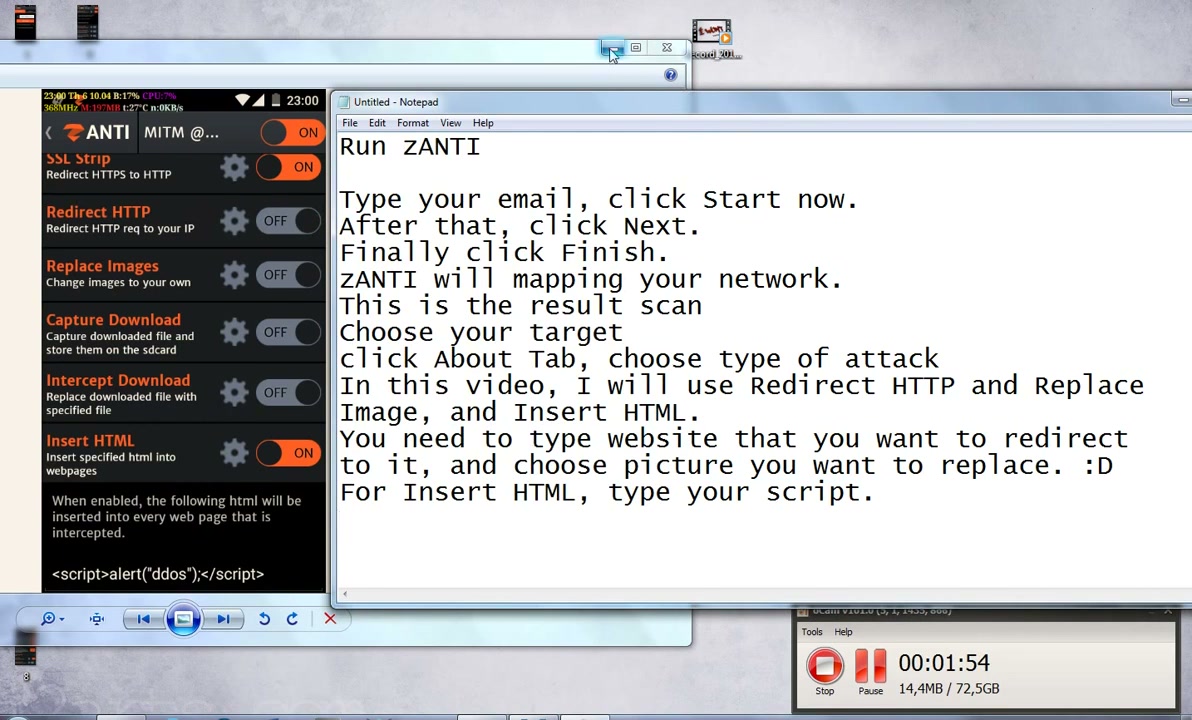
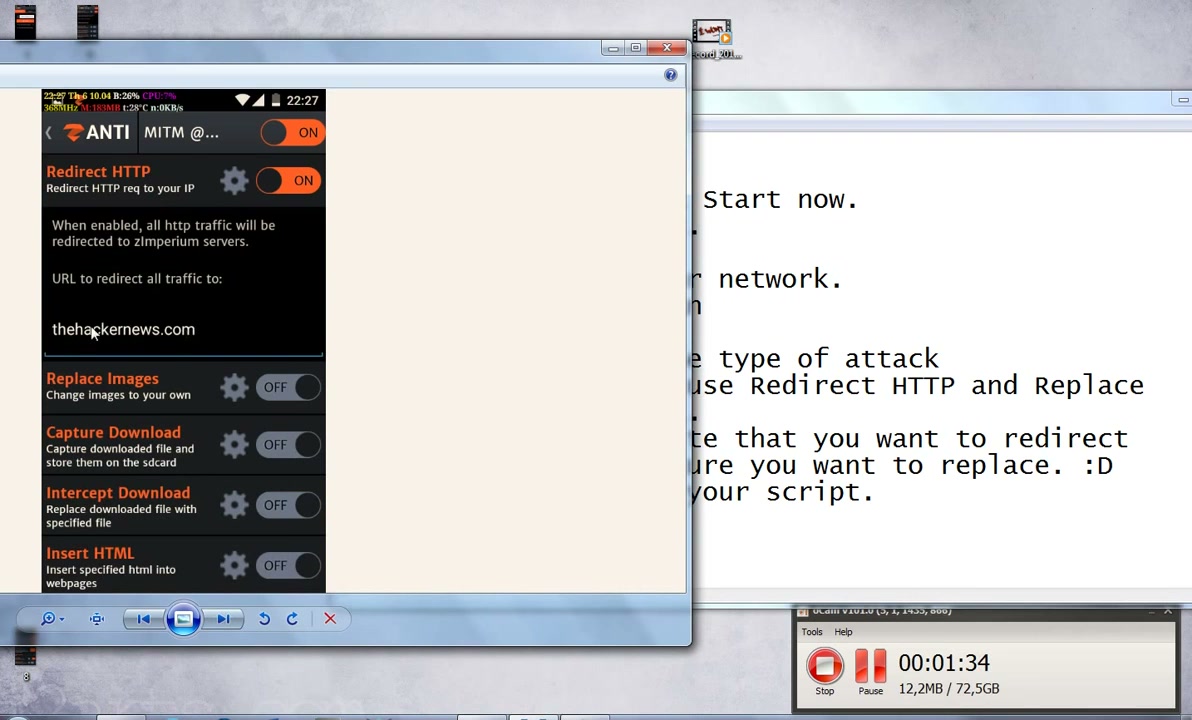
Step 8: Enable Redirect HTTP (Optional Feature)
Turning on the Redirect HTTP feature lets you redirect HTTP traffic from a target device to a specified URL. This is useful for various tests, but always ensure you’re redirecting to a safe and trusted site.
Warning: Enter a legitimate redirect URL to prevent unwanted consequences or confusion.
Step 9: Enable Image Replacement (Optional Feature)
You can turn on the Replace Images function to swap out images on HTTP sites with your own pictures. This is mainly for demonstration and educational purposes.
Tip: Use appropriate images and avoid using this feature on real users without their consent.
Step 10: Running and Managing Attacks
Finally, select your desired toggles (e.g., MITM, SSL Strip, Redirect HTTP), and click ‘Start’ to run the testing tools. Use the provided buttons for viewing logs and managing the process.
Warning: Only proceed with these steps on networks where you have explicit legal permission to conduct security assessments.

Troubleshooting Tips
- If the app fails to install, check that installation from unknown sources is enabled on your device.
- If root permissions are missing, use a trusted rooting tool and ensure your device is properly rooted before retrying.
- Should network scans fail, verify that you’re connected to the intended Wi-Fi network and firewall settings are not blocking zANTI.
- Always update to the latest version of zANTI for improved compatibility and features.
Conclusion
zANTI is a robust toolkit for beginners looking to learn about network security and penetration testing on Android. By carefully following the above steps, you can safely set up and start exploring your network environment. Remember to always use such tools ethically and with proper authorization—responsible usage helps improve security for everyone!