How to Set Up and Intercept HTTP Traffic with Burp Suite: Beginner’s Guide
In this beginner-friendly tutorial, you’ll learn how to set up your desktop environment and device, configure Burp Suite, handle certificates, and successfully capture and analyze HTTP and HTTPS traffic. Each step includes images and troubleshooting tips to help you along the way. Let’s get started!
1. Educational Disclaimer
Before proceeding, please note that this tutorial is intended for educational purposes only. Use the information responsibly and only on systems you own or have explicit permission to test.
This tutorial is for education purpose only!
2. Start Screen Recording (Optional)
If you’d like to record your setup or testing session, click on the ‘Start Recording’ button at the bottom center of your screen. Make sure no sensitive information is visible before beginning.

3. Open an Application
To get started, open any application from the dock or application menu on your desktop. This allows you to prepare your environment and access the necessary tools.
Troubleshooting Tip: If the application isn’t showing up, make sure it’s installed and available in your dock.

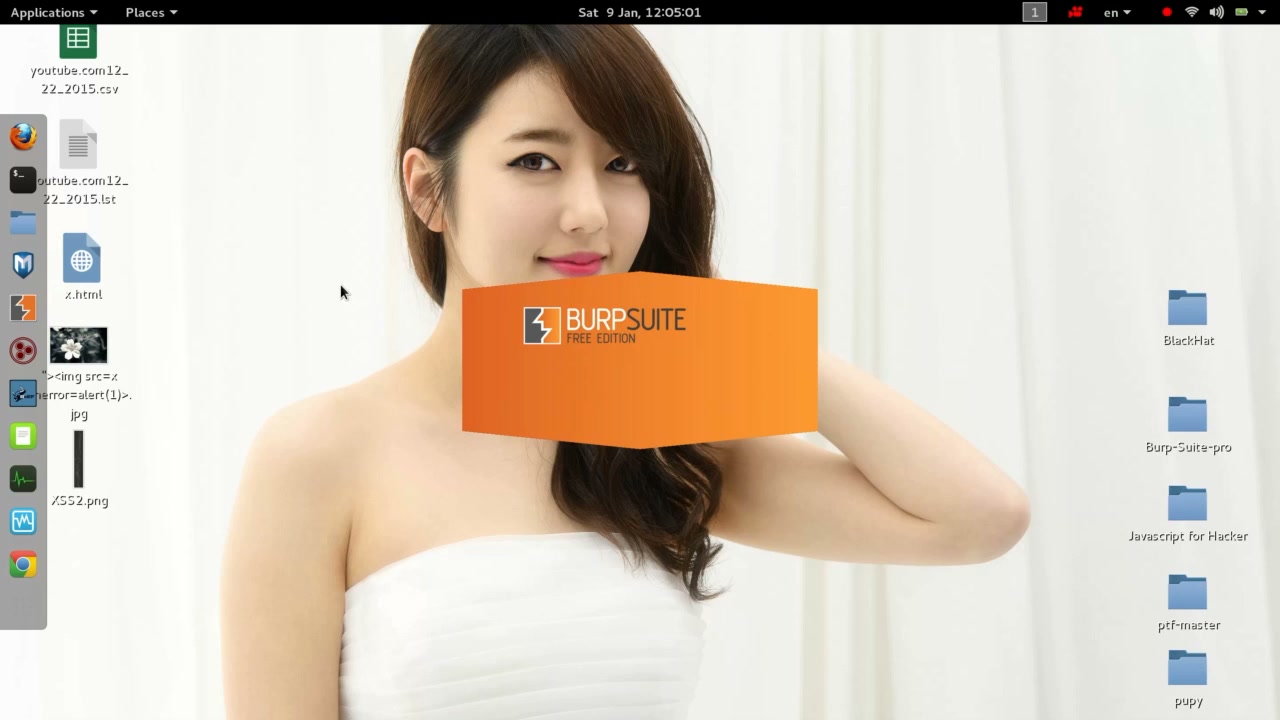
4. Review Desktop Elements
Take time to become familiar with your desktop layout. This includes your application menu, places menu, files, and folder icons. It helps in locating and managing files during the process.
Troubleshooting Tip: Tidy up your desktop and make sure sensitive files are out of sight.

5. Open Burp Suite
Locate and open the Burp Suite Free Edition application on your desktop. Wait for it to fully load before proceeding with the setup.
Troubleshooting Tip: Make sure to close other unnecessary apps to avoid distractions and accidental sharing of sensitive data.
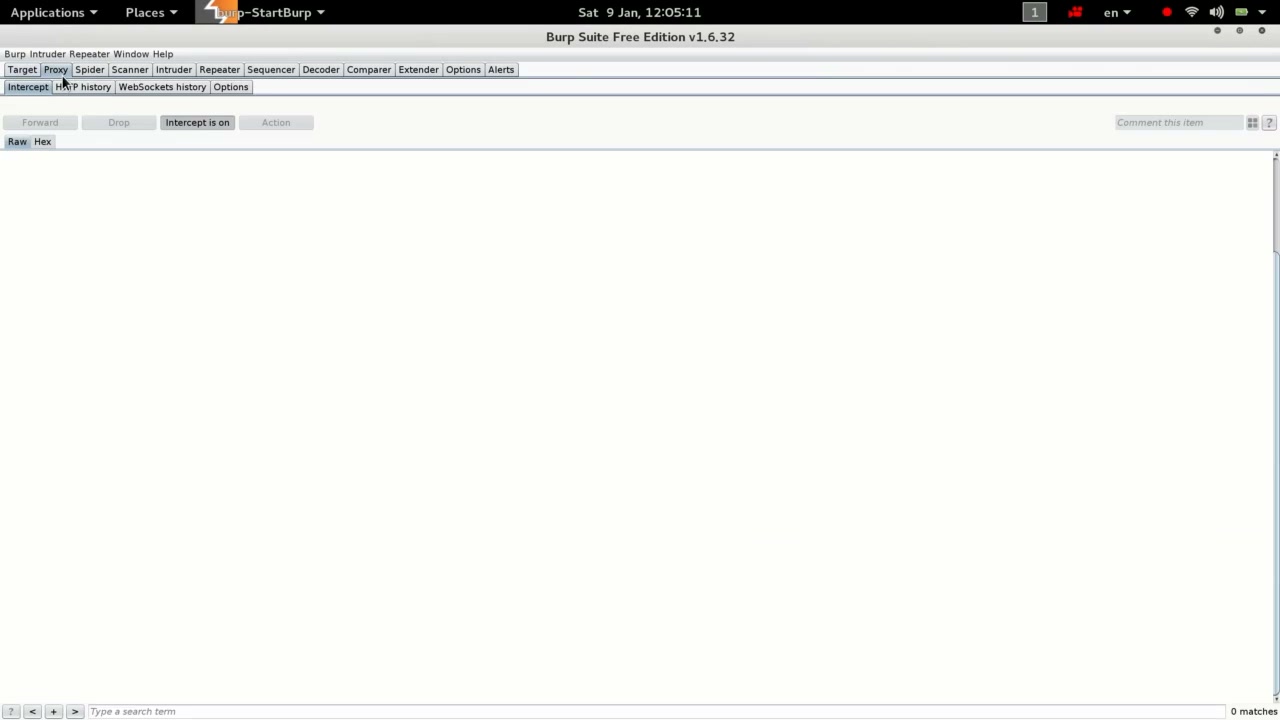
6. Enable Intercept in Proxy Tab
In Burp Suite, click the ‘Proxy’ tab, then ensure that ‘Intercept is on’. This is necessary for capturing HTTP requests through the proxy.
Troubleshooting Tip: If Burp Suite isn’t capturing traffic, double-check this toggle.
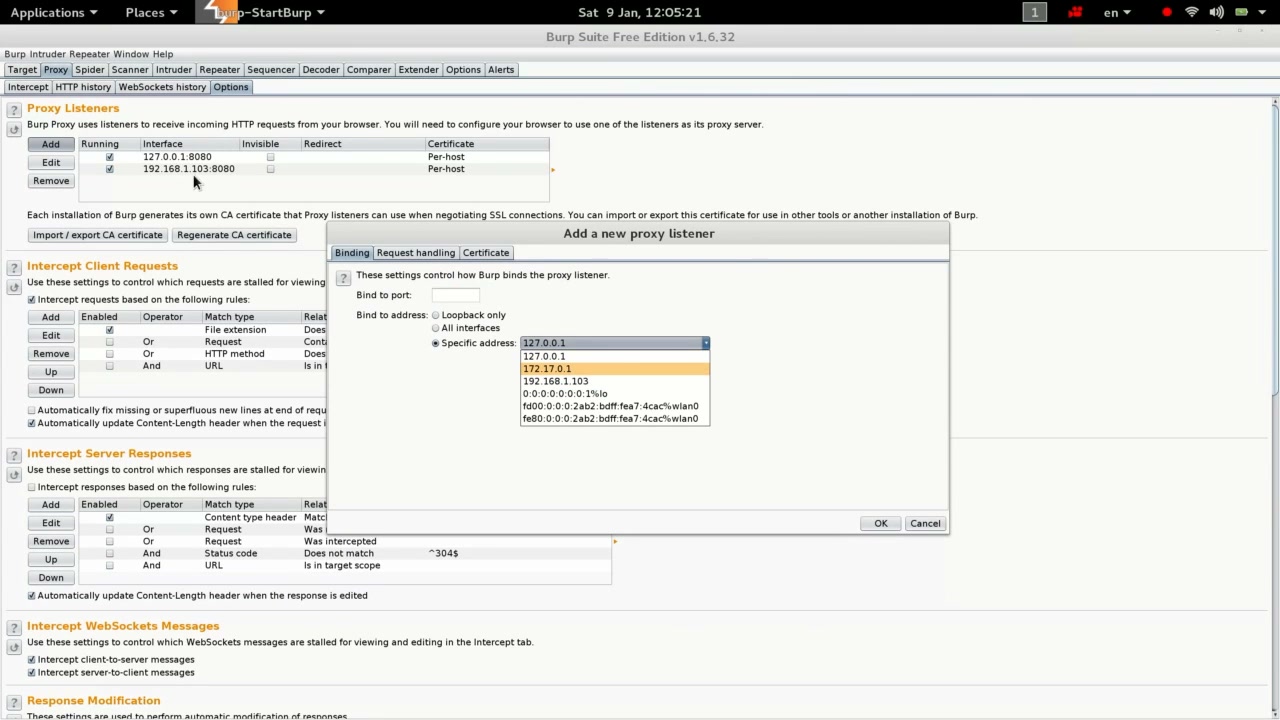
7. Configure Proxy Listener
Go to the proxy listener settings and select a specific IP address under the ‘Bind to address’ dropdown. Click OK to save your selection.
Troubleshooting Tip: Choose the correct IP aligned with your network (e.g., 127.0.0.1 for local testing).
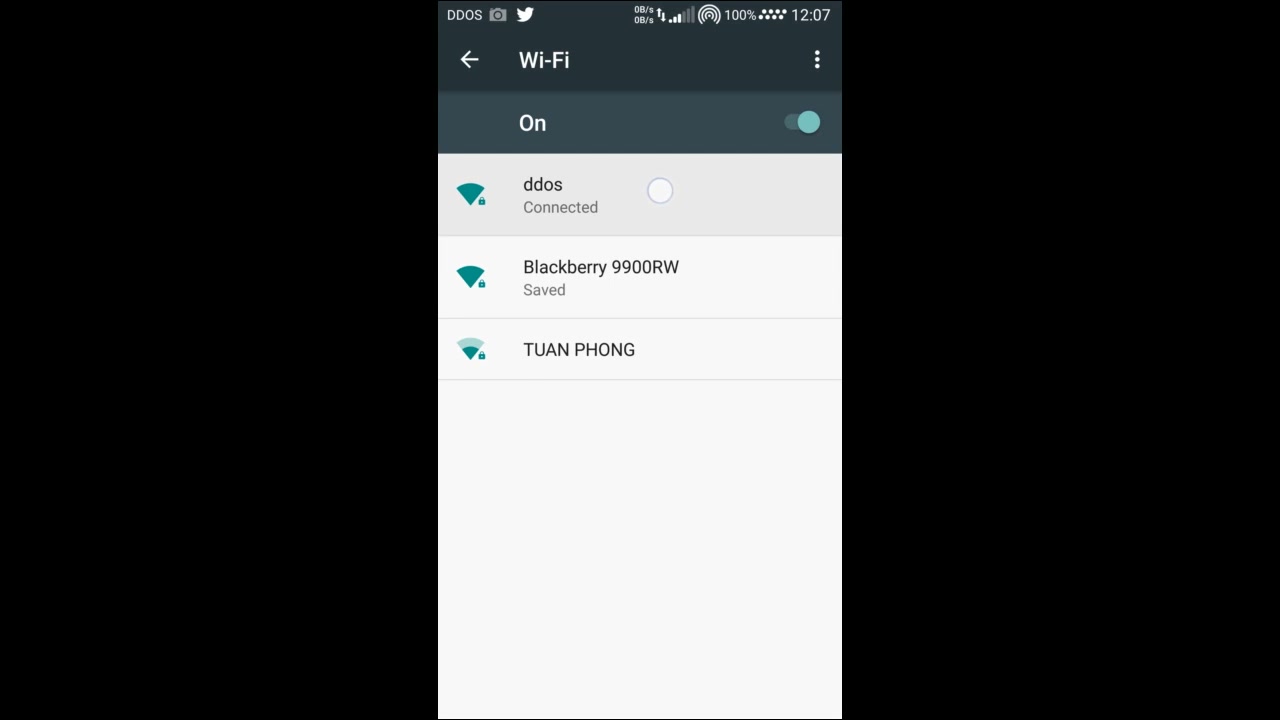
8. Connect Your Device to Wi-Fi
On your device, make sure Wi-Fi is enabled and select your network from the list. Connect using the network password if required.
Troubleshooting Tip: Use a secure Wi-Fi connection to protect your traffic.
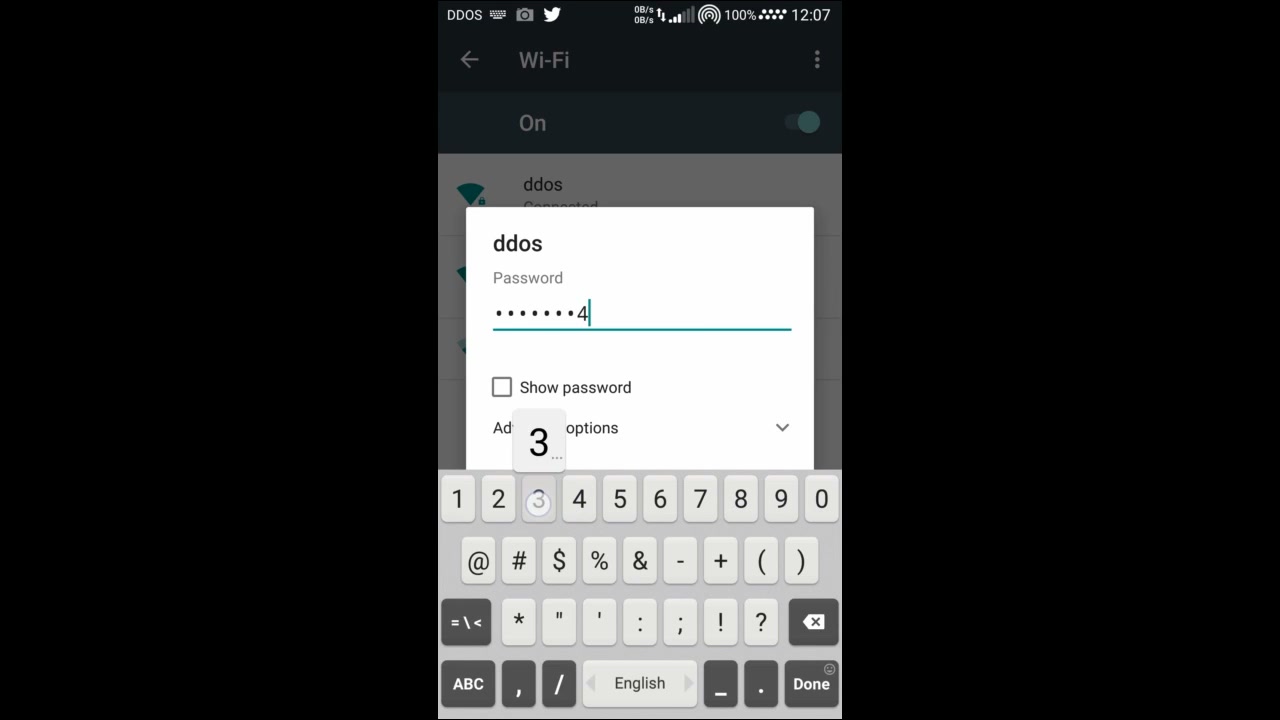
9. Enter Wi-Fi Password
Enter the Wi-Fi password when prompted to connect. Press OK or Connect after typing the password.
Troubleshooting Tip: Double-check the password to avoid connection issues.
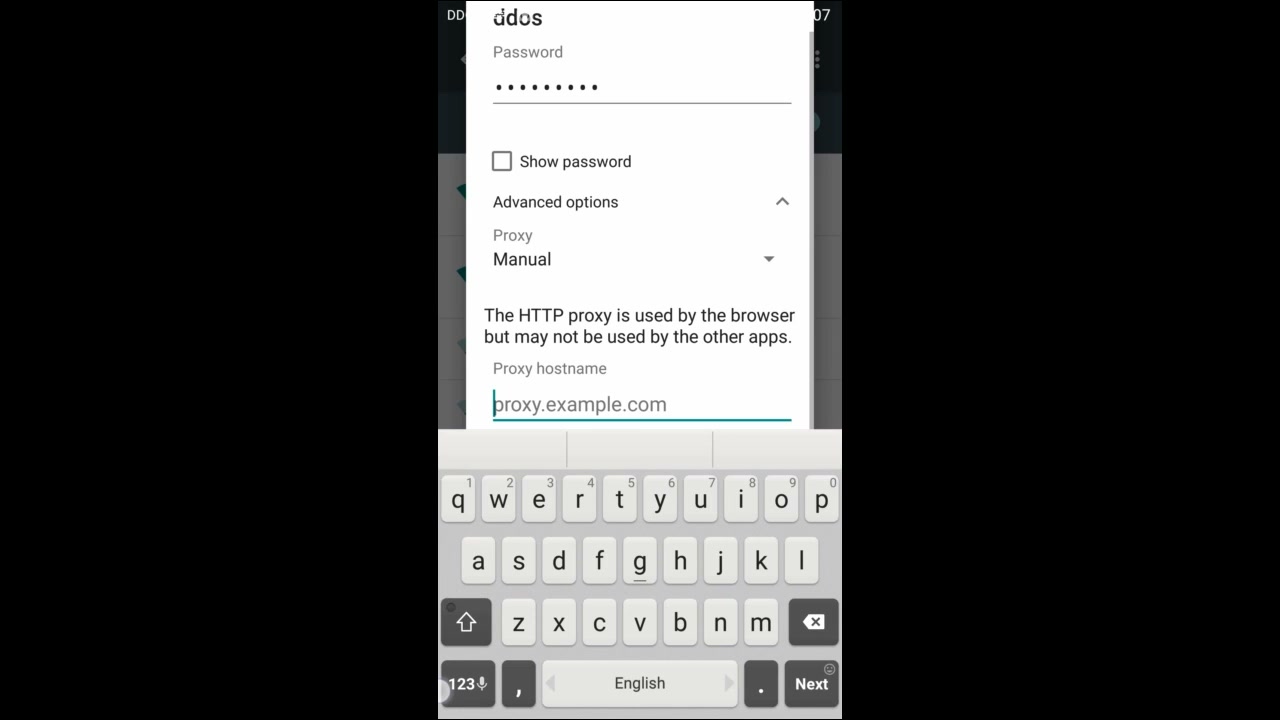
10. Set Proxy Configuration on Your Device
In your Wi-Fi’s advanced options, set the proxy to ‘Manual’ and enter your computer’s IP (the one running Burp Suite) and the port (default is 8080).
Troubleshooting Tip: The proxy will usually only affect browser traffic, not all apps.
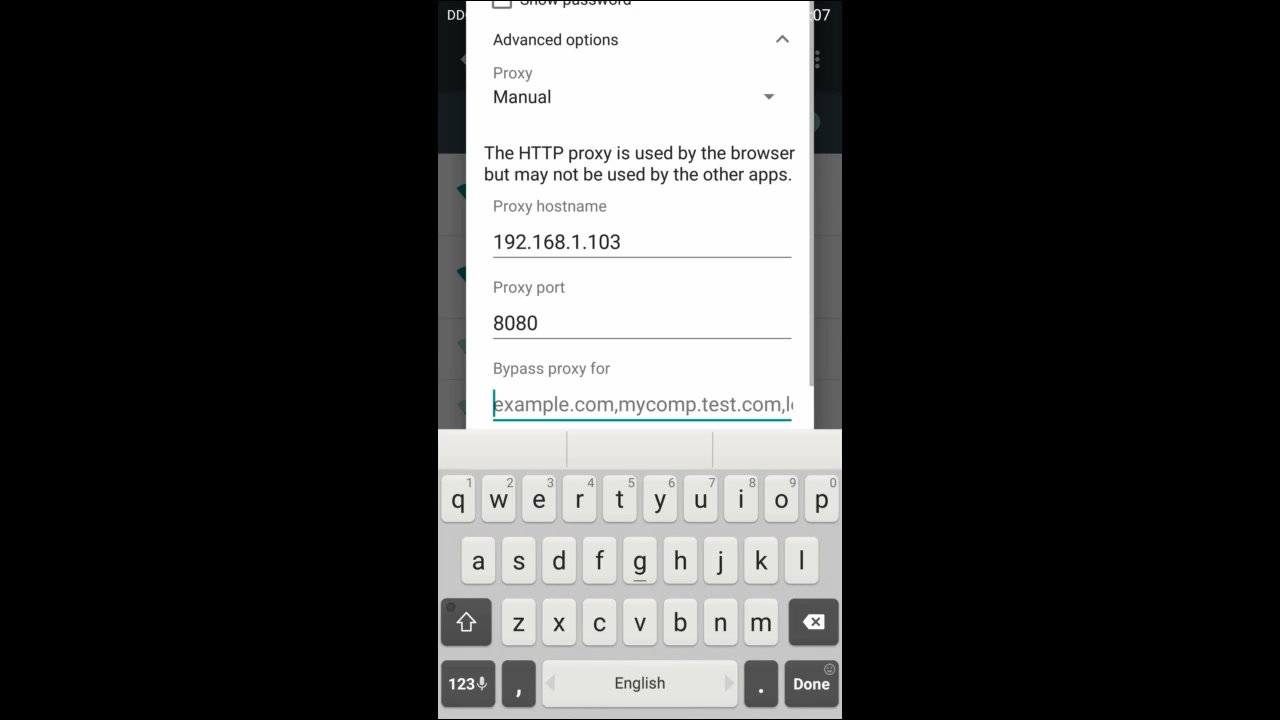
11. Configure HTTP Proxy Details
Fill in the proxy fields: enter the hostname (computer’s IP) and port (e.g., 8080). Confirm that manual configuration is selected.
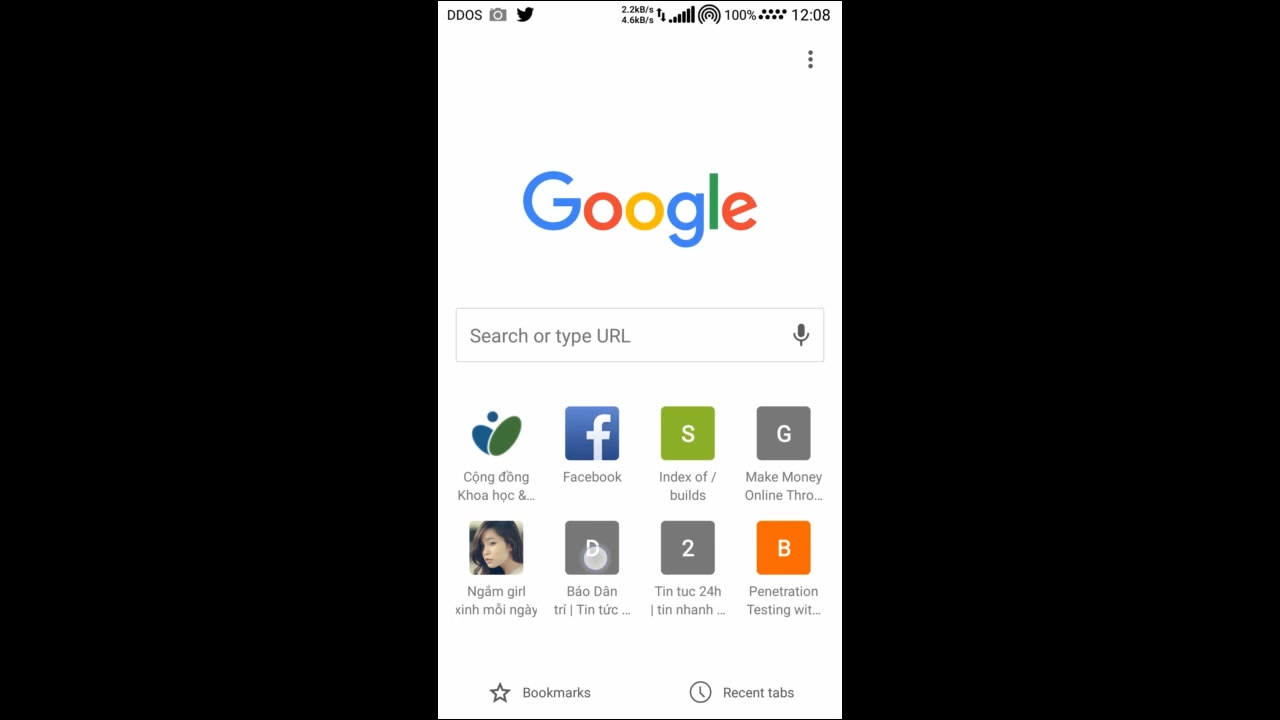
12. Open Your Web Browser
On your device, open the browser (like Google Chrome) to the home screen. Confirm that the internet is working and you can see the bookmarks and search bar.
Troubleshooting Tip: If sites don’t load, check proxy and Wi-Fi setup.
13. Monitor Requests in Burp Suite
Back in Burp Suite, check the HTTP requests and responses being captured in real time as you browse.
Troubleshooting Tip: If nothing appears, make sure your device’s proxy points correctly at Burp and that ‘Intercept’ is ON.
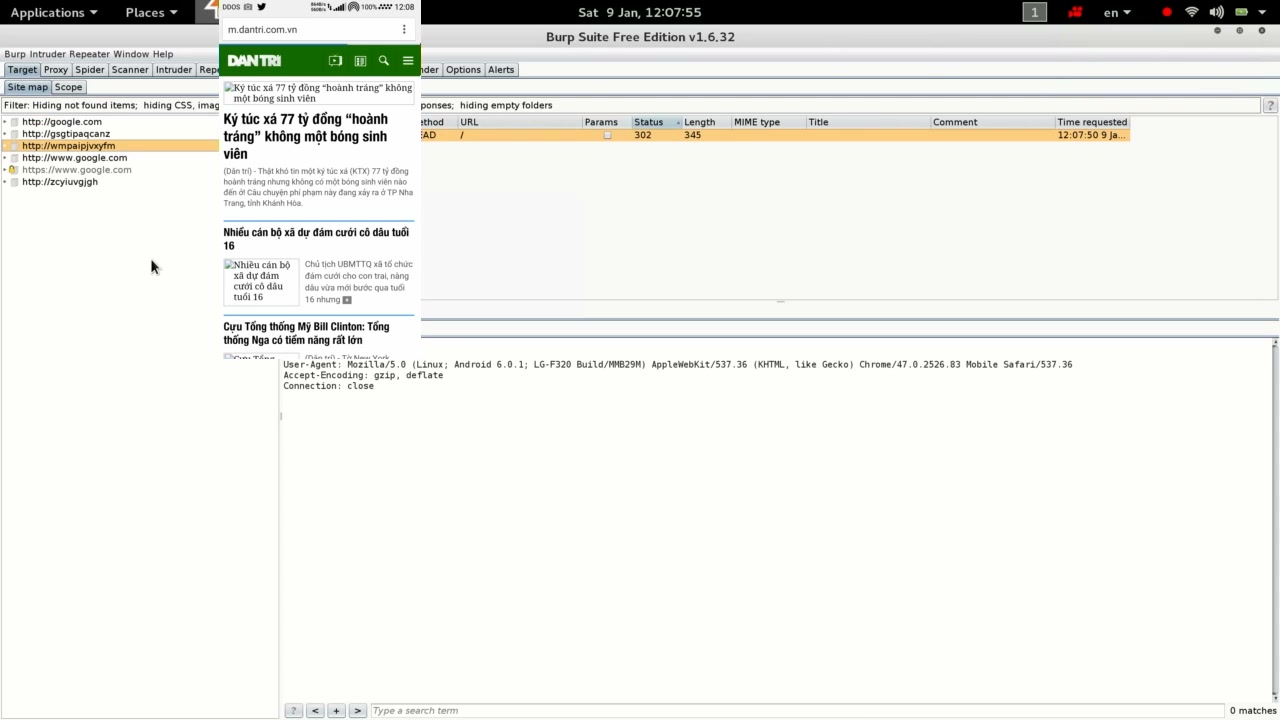
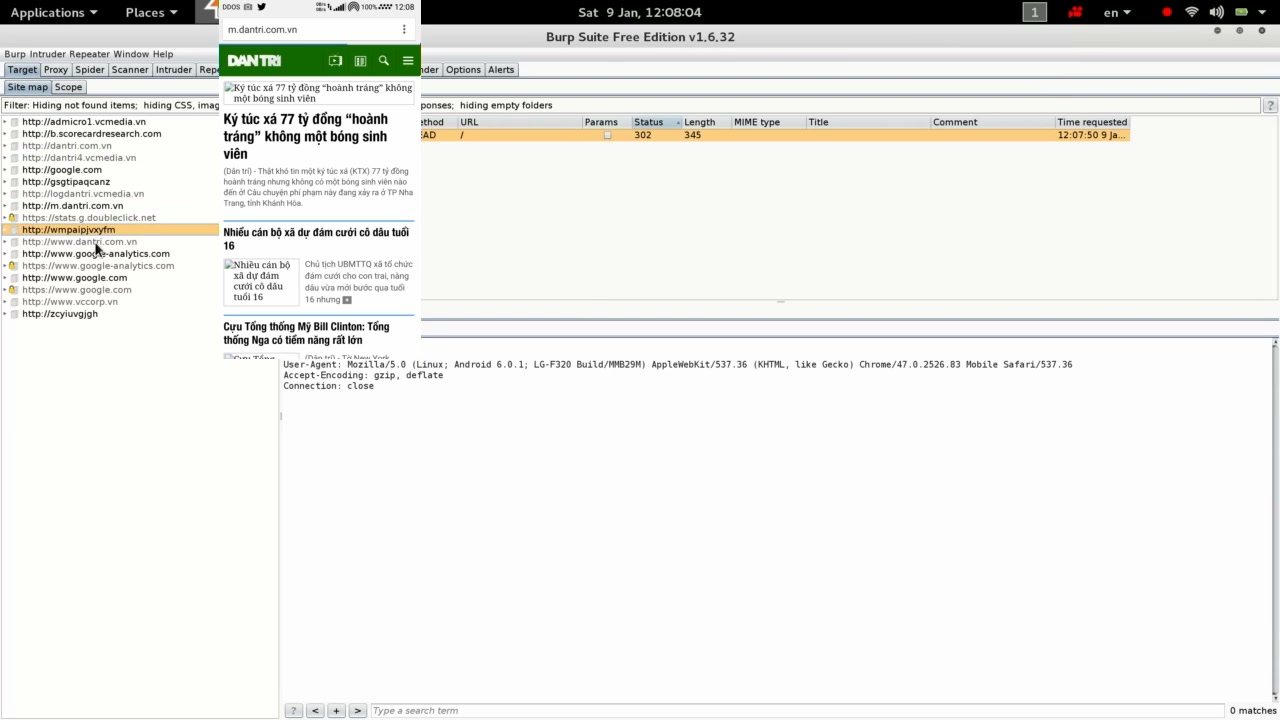
14. Analyze Traffic in Burp Suite
In the ‘Target’ site map of Burp Suite, click on the URLs you’ve visited to inspect the corresponding HTTP history — requests and responses made during browsing.
Troubleshooting Tip: If traffic isn’t showing up, review network/proxy settings.
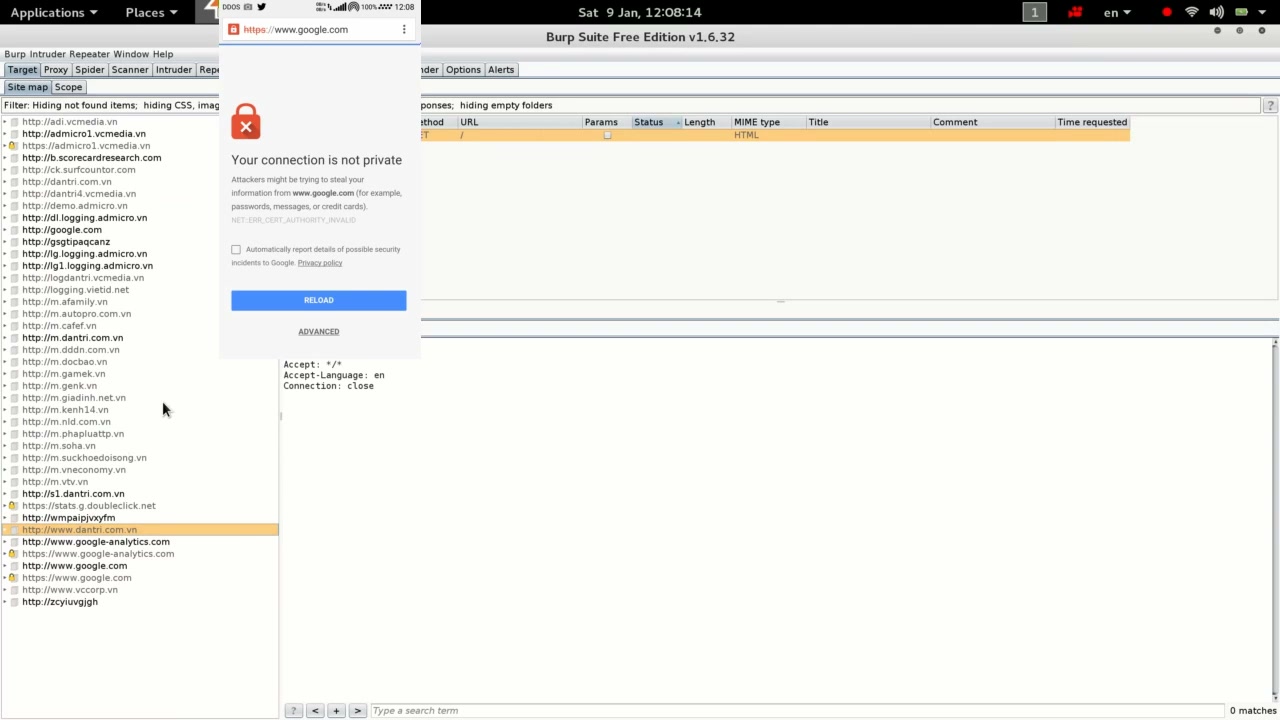
15. Handle SSL Warnings in Browser
When you encounter the ‘Your connection is not private’ or similar HTTPS warning, click ‘Advanced’ or ‘Proceed’ depending on your browser. This happens because Burp Suite uses its own CA certificate to intercept SSL traffic.
WARNING: Only proceed if you trust the connection!
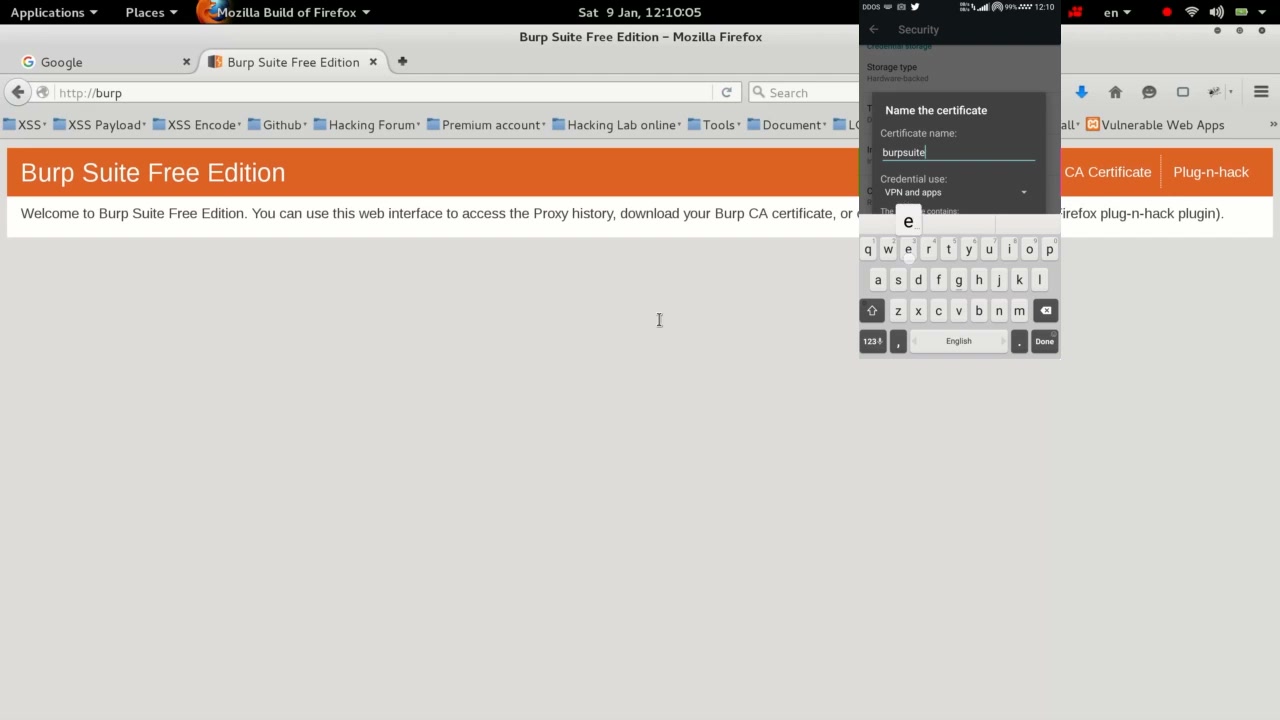
16. Manage Certificates on Your Device
To properly intercept HTTPS traffic, you must import Burp Suite’s CA certificate on your device. First, locate the downloaded certificate file (commonly named ‘cacert.der’) in your Downloads folder.
Troubleshooting Tip: Double-check that you’ve downloaded the correct certificate from Burp Suite.
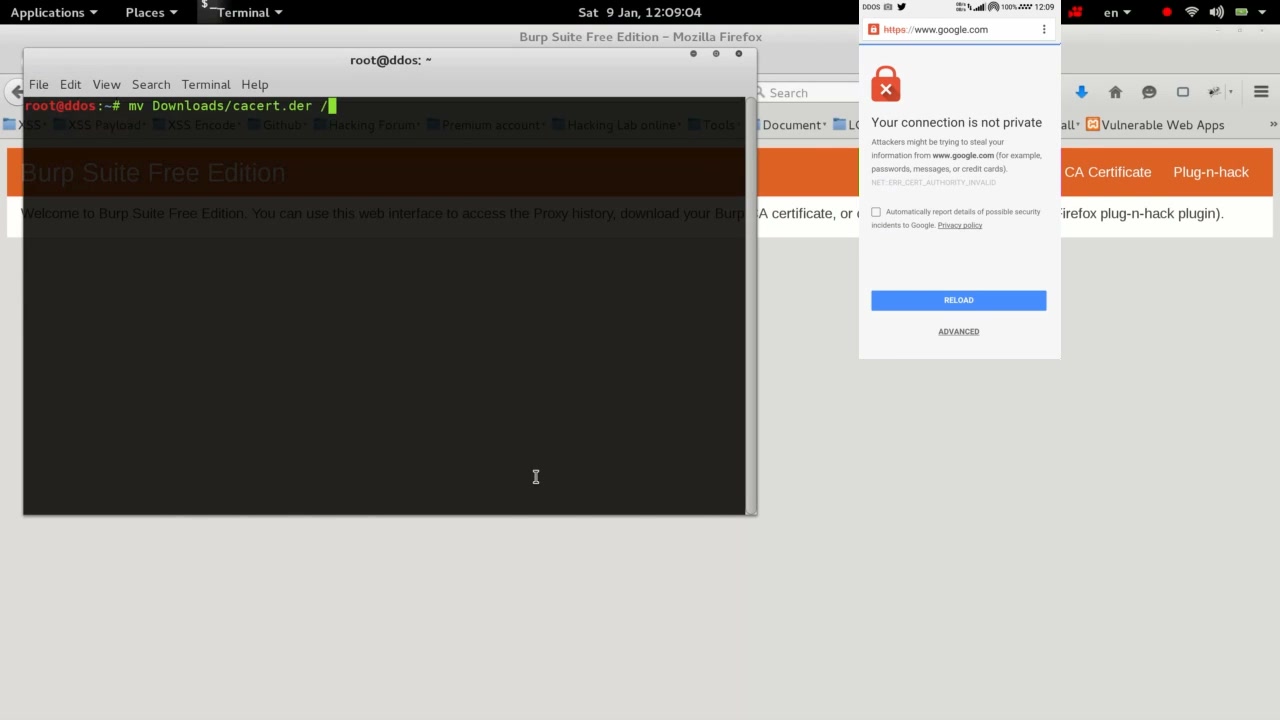
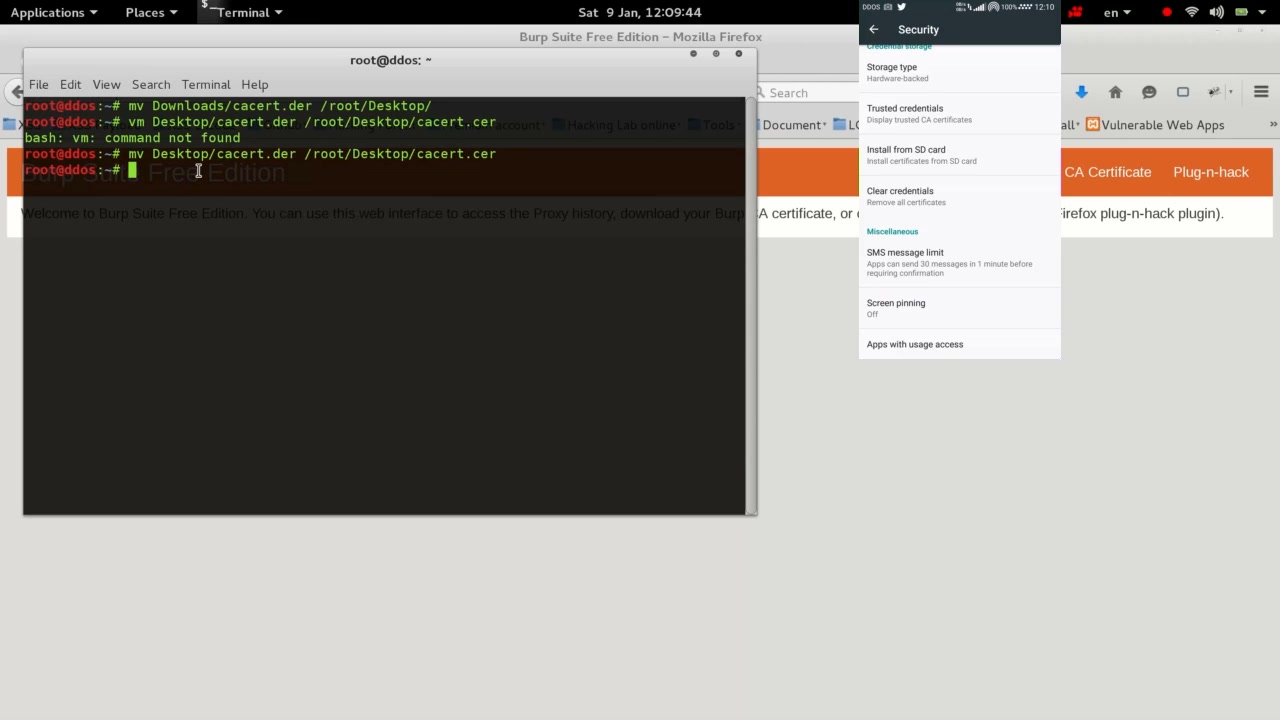
17. Move and Rename Certificate File Using Terminal
Open the terminal and use the mv command to move the ‘cacert.der’ file from your Downloads folder to the Desktop. If required, rename it to ‘cacert.cer’.
Example command:
mv ~/Downloads/cacert.der ~/Desktop/cacert.cer
Troubleshooting Tip: Ensure correct file paths; use ‘mv,’ not ‘vm.’
18. Access Burp Suite Free Edition’s Certificate Page
In your browser, navigate to the Burp Suite Free Edition web interface. Look for the ‘CA Certificate’ button and download the certificate if you haven’t already.
Troubleshooting Tip: Only download certificates from a trusted Burp Suite session.
19. Analyze HTTP Requests in Burp Suite
In Burp Suite, select a captured request (such as a Google search) to view detailed HTTP headers and data for inspection.
Troubleshooting Tip: Inspect the Request and Response tabs for more technical details.
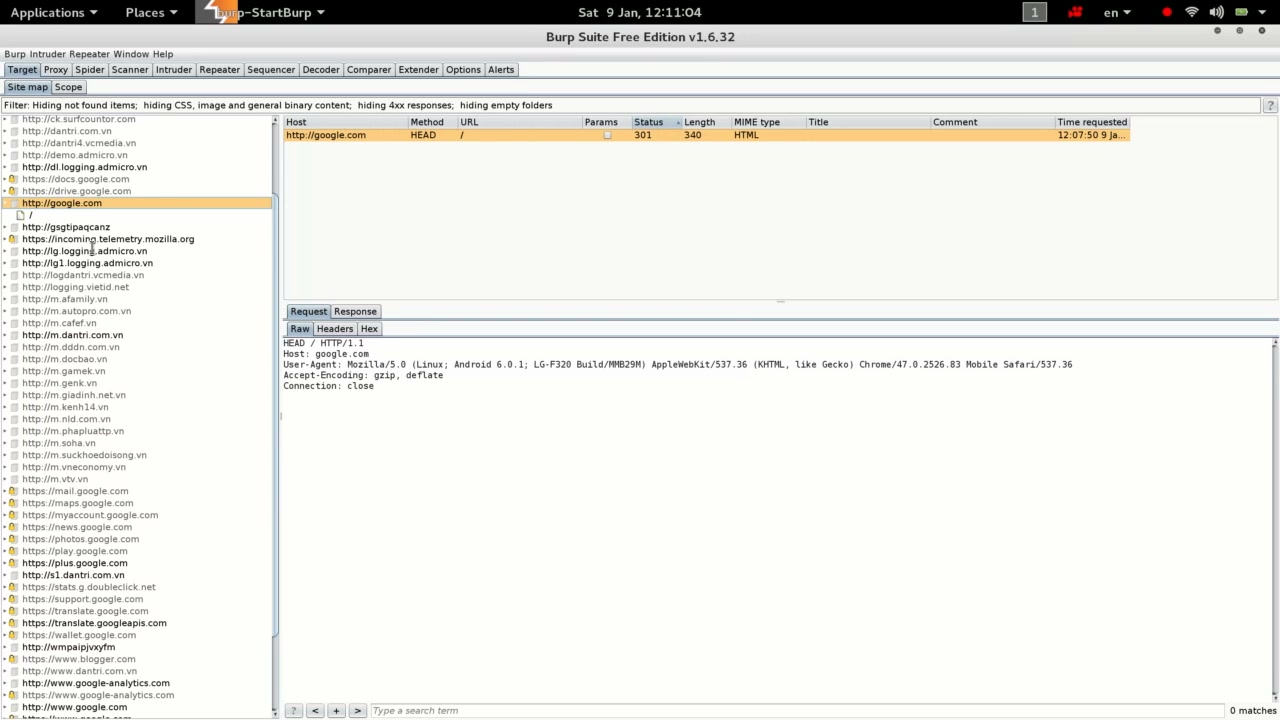
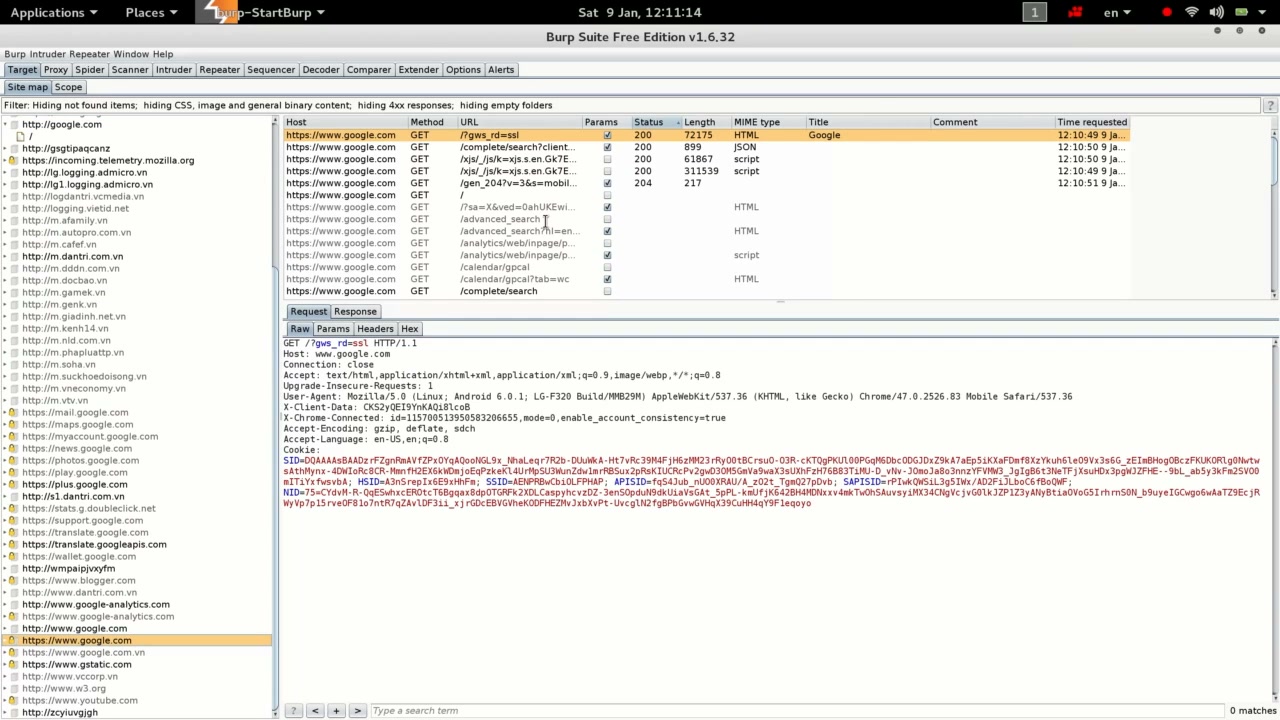
20. Review HTTP Requests in Detail
For any captured request, use Burp Suite’s ‘Request’ tab to examine headers, parameters, and raw request content. This is fundamental for web testing or debugging network activity.
Troubleshooting Tip: Always avoid sharing or storing captured sensitive information.
Conclusion
By following these steps, you have successfully set up Burp Suite for intercepting and analyzing HTTP/HTTPS traffic. This process is valuable for web application testing, debugging, and learning about web security. Always use these techniques ethically and legally. Happy learning!